Back to Integrations
integrationHTTP Request node
integrationMQTT node

HTTP Request and MQTT integration

Save yourself the work of writing custom integrations for HTTP Request and MQTT and use n8n instead. Build adaptable and scalable Development, Core Nodes, and Communication workflows that work with your technology stack. All within a building experience you will love.

How to connect HTTP Request and MQTT

  • Step 1: Create a new workflow
  • Step 2: Add and configure nodes
  • Step 3: Connect
  • Step 4: Customize and extend your integration
  • Step 5: Test and activate your workflow

Step 1: Create a new workflow and add the first step

In n8n, click the "Add workflow" button in the Workflows tab to create a new workflow. Add the starting point – a trigger on when your workflow should run: an app event, a schedule, a webhook call, another workflow, an AI chat, or a manual trigger. Sometimes, the HTTP Request node might already serve as your starting point.

HTTP Request and MQTT integration: Create a new workflow and add the first step

Step 2: Add and configure HTTP Request and MQTT nodes

You can find HTTP Request and MQTT in the nodes panel. Drag them onto your workflow canvas, selecting their actions. Click each node, choose a credential, and authenticate to grant n8n access. Configure HTTP Request and MQTT nodes one by one: input data on the left, parameters in the middle, and output data on the right.

HTTP Request and MQTT integration: Add and configure HTTP Request and MQTT nodes

Step 3: Connect HTTP Request and MQTT

A connection establishes a link between HTTP Request and MQTT (or vice versa) to route data through the workflow. Data flows from the output of one node to the input of another. You can have single or multiple connections for each node.

HTTP Request and MQTT integration: Connect HTTP Request and MQTT

Step 4: Customize and extend your HTTP Request and MQTT integration

Use n8n's core nodes such as If, Split Out, Merge, and others to transform and manipulate data. Write custom JavaScript or Python in the Code node and run it as a step in your workflow. Connect HTTP Request and MQTT with any of n8n’s 1000+ integrations, and incorporate advanced AI logic into your workflows.

HTTP Request and MQTT integration: Customize and extend your HTTP Request and MQTT integration

Step 5: Test and activate your HTTP Request and MQTT workflow

Save and run the workflow to see if everything works as expected. Based on your configuration, data should flow from HTTP Request to MQTT or vice versa. Easily debug your workflow: you can check past executions to isolate and fix the mistake. Once you've tested everything, make sure to save your workflow and activate it.

HTTP Request and MQTT integration: Test and activate your HTTP Request and MQTT workflow

IOT Button Remote / Spotify Control Integration with MQTT

Overview
This template integrates an IOT multi-button switch (meant for controlling a dimmable light) with Spotify playback functions, via MQTT messages. This isn't likely to work without some tinkering, but should be a good head start on receiving/routing IOT/MQTT messages and hooking up to a Spotify-like API.
Requirements
An IOT device capable of generating events that can be delivered as MQTT messages through an MQTT Broker
e.g. Ikea Strybar remote
An MQTT Broker to which n8n can connect and consume messages
e.g. Zigbee2MQTT in HomeAssistant
A Spotify developer-account (which provides access to API functions via OAuth2 authorization)
A Spotify user-account (which provides access to Spotify streamed content, user settings, etc.)

Setup
Create an MQTT Credential item in n8n and assign it to the MQTT Trigger node
Modify the MQTT trigger node to match the topic for your IOT device messages
Modify the switch/router nodes to map to the message text from your IOT button (e.g. arrow_left_click, brightness_up_click, etc.)
Create a Spotify developer-account (or use the login for a user-account)
Create an "App" in the developer-account to represent the n8n workflow
Chicken/Egg ALERT: The n8n Spotify Credentials dialog box will display the "OAuth Redirect URL" required to create the App in Spotify, but the n8n Credential item itself cannot be created until AFTER the App has been created.
Create a Spotify Credentials item in n8n
Open the Settings on the Spotify App to find the required Client ID and Client Secret information.
ALERT: Save this before proceeding to the Connect step.
Connect the n8n Spotify Credential item to the Spotify user-account
ALERT: Expect n8n to open a separate OAuth2 window on authorization.spotify.com here, which may require a login to the Spotify user-account
Open each of the HTTP and Spotify nodes, one by one, and re-assign to your Spotify Credential (try not to miss any).
(Then, probably, upvote this feature request: https://community.n8n.io/t/select-credentials-via-expression/5150
Modify the variable values in the Globals node to match your own environment.
target_spotify_playback_device_name - The name of a playback device available to the Spotify user-account
favorite_playlist_name - The name of a playlist to start when one of the button actions is indicated in the MQTT message. Used in example "Custom Function 2" sequence.

Notes
You're on your own for getting the multi-button remote switch talking to MQTT, figuring out what the exact MQTT topic name is, and mapping the message parts to the workflow (actions, etc.).
The next / previous actions are wired up to not transfer control to the target device. This alternative routing just illustrates a different behavior than the remaining actions/functions, which include activation of the target device when required.
Some of the Spotify API interactions use the Spotify node in n8n, but many of the available Spotify API functions are limited or not implemented at all in the Spotify node. So, in other cases, a regular HTTP node is used with the Spotify OAuth2 API credential instead. By modifying one of the examples included in the template, it should be possible to call nearly anything the Spotify API has to offer.

Spotify+n8n OAuth Mini-Tutorial
Definitions
The developer-account is the Spotify login for creating a spotify-app which will be associated with a client id and client secret.
The user-account is the Spotify login that has permission to stream songs, set up playback devices, etc.
++A spotify-login allows access to a Spotify user-account, or a Spotify developer-account, OR BOTH++
The spotify-app, which has a client id and client secret, is an object created in the developer-account.
The app-implementation (in this case, an ++n8n workflow++) uses the spotify-app's credentials (client id / client secret) to call Spotify API endpoints on behalf of a user-account.

Using One Spotify Login as Both User and Developer
When an n8n Spotify-node or HTTP-node (i.e. an app-implementation) calls a Spotify API endpoint, the Credentials item may be using the client id and client secret from a spotify-app, which was created in a developer-account that is ++one and the same spotify-login as the user-account++. However, it helps to remind yourself that from the Spotify API server's perspective, the developer-account + spotify-app, and the user-account, are ++two independent entities++.

n8n Spotify-OAuth2-API Credential Authorization Process
The 2 layers/steps, in the process of authorizing an n8n Spotify-OAuth2-API credential to make API calls, are:
n8n must identify itself to Spotify as the app-implementation associated with the developer-account/spotify-app by sending the app's credentials (client id and client secret) to Spotify.
The Client ID and Client Secret are supplied in the n8n Spotify OAuth2 Credentials UI/dialog-box
Separately, n8n must obtain an authorization token from Spotify to represent the permissions granted by the user to execute actions (call API endpoints) on behalf of the user (i.e. access things that belong to the user-account).
This authorization for the user-account access is obtained when the "Connect" or "Reconnect" button is clicked in the n8n Spotify Credentials UI/dialog-box (which pops up a separate authorization UI/browser-window managed by Spotify).
The Authorization for a given spotify-app stays "registered" in the user-account until revoked.
See: https://support.spotify.com/us/article/spotify-on-other-apps/
Direct Link: https://www.spotify.com/account/apps/
More than one user-account can be authorized for a given spotify-app. A particular n8n Spotify-OAuth2-API credential item appears to cache an authorization token for the user-account that was most recently authorized.
Up to 25 users can be allowed access to a spotify-app in Developer-Mode, but any user-account other than the one associated with the developer-account must be added by email address at https://developer.spotify.com/dashboard/{{app-credential-id}}/users
ALERT: IF the browser running the n8n UI is ALSO logged into a Spotify account, and the spotify-app is already authorized for that Spotify account, the "reconnect" button in the Spotify-OAuth2-API credential dialog may automatically grab a token for that logged in user-account, offering no opportunity to select a different user-account.
This can be managed somewhat by using "incognito" browser windows for n8n, Spotify, or both.

References
n8n Spotify Credentials Docs
Spotify Authorization Docs

Nodes used in this workflow

Popular HTTP Request and MQTT workflows

IOT Button Remote / Spotify Control Integration with MQTT

Overview This template integrates an IOT multi-button switch (meant for controlling a dimmable light) with Spotify playback functions, via MQTT messages. This isn't likely to work without some tinkering, but should be a good head start on receiving/routing IOT/MQTT messages and hooking up to a Spotify-like API. Requirements An IOT device capable of generating events that can be delivered as MQTT messages through an MQTT Broker e.g. Ikea Strybar remote An MQTT Broker to which n8n can connect and consume messages e.g. Zigbee2MQTT in HomeAssistant A Spotify developer-account (which provides access to API functions via OAuth2 authorization) A Spotify user-account (which provides access to Spotify streamed content, user settings, etc.) Setup Create an MQTT Credential item in n8n and assign it to the MQTT Trigger node Modify the MQTT trigger node to match the topic for your IOT device messages Modify the switch/router nodes to map to the message text from your IOT button (e.g. arrow_left_click, brightness_up_click, etc.) Create a Spotify developer-account (or use the login for a user-account) Create an "App" in the developer-account to represent the n8n workflow Chicken/Egg ALERT: The n8n Spotify Credentials dialog box will display the "OAuth Redirect URL" required to create the App in Spotify, but the n8n Credential item itself cannot be created until AFTER the App has been created. Create a Spotify Credentials item in n8n Open the Settings on the Spotify App to find the required Client ID and Client Secret information. ALERT: Save this before proceeding to the Connect step. Connect the n8n Spotify Credential item to the Spotify user-account ALERT: Expect n8n to open a separate OAuth2 window on authorization.spotify.com here, which may require a login to the Spotify user-account Open each of the HTTP and Spotify nodes, one by one, and re-assign to your Spotify Credential (try not to miss any). (Then, probably, upvote this feature request: https://community.n8n.io/t/select-credentials-via-expression/5150 Modify the variable values in the Globals node to match your own environment. target_spotify_playback_device_name - The name of a playback device available to the Spotify user-account favorite_playlist_name - The name of a playlist to start when one of the button actions is indicated in the MQTT message. Used in example "Custom Function 2" sequence. Notes You're on your own for getting the multi-button remote switch talking to MQTT, figuring out what the exact MQTT topic name is, and mapping the message parts to the workflow (actions, etc.). The next / previous actions are wired up to not transfer control to the target device. This alternative routing just illustrates a different behavior than the remaining actions/functions, which include activation of the target device when required. Some of the Spotify API interactions use the Spotify node in n8n, but many of the available Spotify API functions are limited or not implemented at all in the Spotify node. So, in other cases, a regular HTTP node is used with the Spotify OAuth2 API credential instead. By modifying one of the examples included in the template, it should be possible to call nearly anything the Spotify API has to offer. Spotify+n8n OAuth Mini-Tutorial Definitions The developer-account is the Spotify login for creating a spotify-app which will be associated with a client id and client secret. The user-account is the Spotify login that has permission to stream songs, set up playback devices, etc. ++A spotify-login allows access to a Spotify user-account, or a Spotify developer-account, OR BOTH++ The spotify-app, which has a client id and client secret, is an object created in the developer-account. The app-implementation (in this case, an ++n8n workflow++) uses the spotify-app's credentials (client id / client secret) to call Spotify API endpoints on behalf of a user-account. Using One Spotify Login as Both User and Developer When an n8n Spotify-node or HTTP-node (i.e. an app-implementation) calls a Spotify API endpoint, the Credentials item may be using the client id and client secret from a spotify-app, which was created in a developer-account that is ++one and the same spotify-login as the user-account++. However, it helps to remind yourself that from the Spotify API server's perspective, the developer-account + spotify-app, and the user-account, are ++two independent entities++. n8n Spotify-OAuth2-API Credential Authorization Process The 2 layers/steps, in the process of authorizing an n8n Spotify-OAuth2-API credential to make API calls, are: n8n must identify itself to Spotify as the app-implementation associated with the developer-account/spotify-app by sending the app's credentials (client id and client secret) to Spotify. The Client ID and Client Secret are supplied in the n8n Spotify OAuth2 Credentials UI/dialog-box Separately, n8n must obtain an authorization token from Spotify to represent the permissions granted by the user to execute actions (call API endpoints) on behalf of the user (i.e. access things that belong to the user-account). This authorization for the user-account access is obtained when the "Connect" or "Reconnect" button is clicked in the n8n Spotify Credentials UI/dialog-box (which pops up a separate authorization UI/browser-window managed by Spotify). The Authorization for a given spotify-app stays "registered" in the user-account until revoked. See: https://support.spotify.com/us/article/spotify-on-other-apps/ Direct Link: https://www.spotify.com/account/apps/ More than one user-account can be authorized for a given spotify-app. A particular n8n Spotify-OAuth2-API credential item appears to cache an authorization token for the user-account that was most recently authorized. Up to 25 users can be allowed access to a spotify-app in Developer-Mode, but any user-account other than the one associated with the developer-account must be added by email address at https://developer.spotify.com/dashboard/{{app-credential-id}}/users ALERT: IF the browser running the n8n UI is ALSO logged into a Spotify account, and the spotify-app is already authorized for that Spotify account, the "reconnect" button in the Spotify-OAuth2-API credential dialog may automatically grab a token for that logged in user-account, offering no opportunity to select a different user-account. This can be managed somewhat by using "incognito" browser windows for n8n, Spotify, or both. References n8n Spotify Credentials Docs Spotify Authorization Docs

Send location updates of the ISS to a topic in MQTT

This workflow allows you to send position updates of the ISS every minute to a topic in MQTT using the MQTT node. Cron node: The Cron node will trigger the workflow every minute. HTTP Request node: This node will make a GET request to the API https://api.wheretheiss.at/v1/satellites/25544/positions to fetch the position of the ISS. This information gets passed on to the next node in the workflow. Set node: We will use the Set node to ensure that only the data that we set in this node gets passed on to the next nodes in the workflow. AWS SQS: This node will send the data from the previous node to the iss-position topic. If you have created a topic with a different one, you can use that topic instead.

Build your own HTTP Request and MQTT integration

Create custom HTTP Request and MQTT workflows by choosing triggers and actions. Nodes come with global operations and settings, as well as app-specific parameters that can be configured. You can also use the HTTP Request node to query data from any app or service with a REST API.

Use case

Save engineering resources

Reduce time spent on customer integrations, engineer faster POCs, keep your customer-specific functionality separate from product all without having to code.

Learn more

FAQs

  • Can HTTP Request connect with MQTT?

  • Can I use HTTP Request’s API with n8n?

  • Can I use MQTT’s API with n8n?

  • Is n8n secure for integrating HTTP Request and MQTT?

  • How to get started with HTTP Request and MQTT integration in n8n.io?

Need help setting up your HTTP Request and MQTT integration?

Discover our latest community's recommendations and join the discussions about HTTP Request and MQTT integration.
Moiz Contractor
theo
Jon
Dan Burykin
Tony

Looking to integrate HTTP Request and MQTT in your company?

Over 3000 companies switch to n8n every single week

Why use n8n to integrate HTTP Request with MQTT

Build complex workflows, really fast
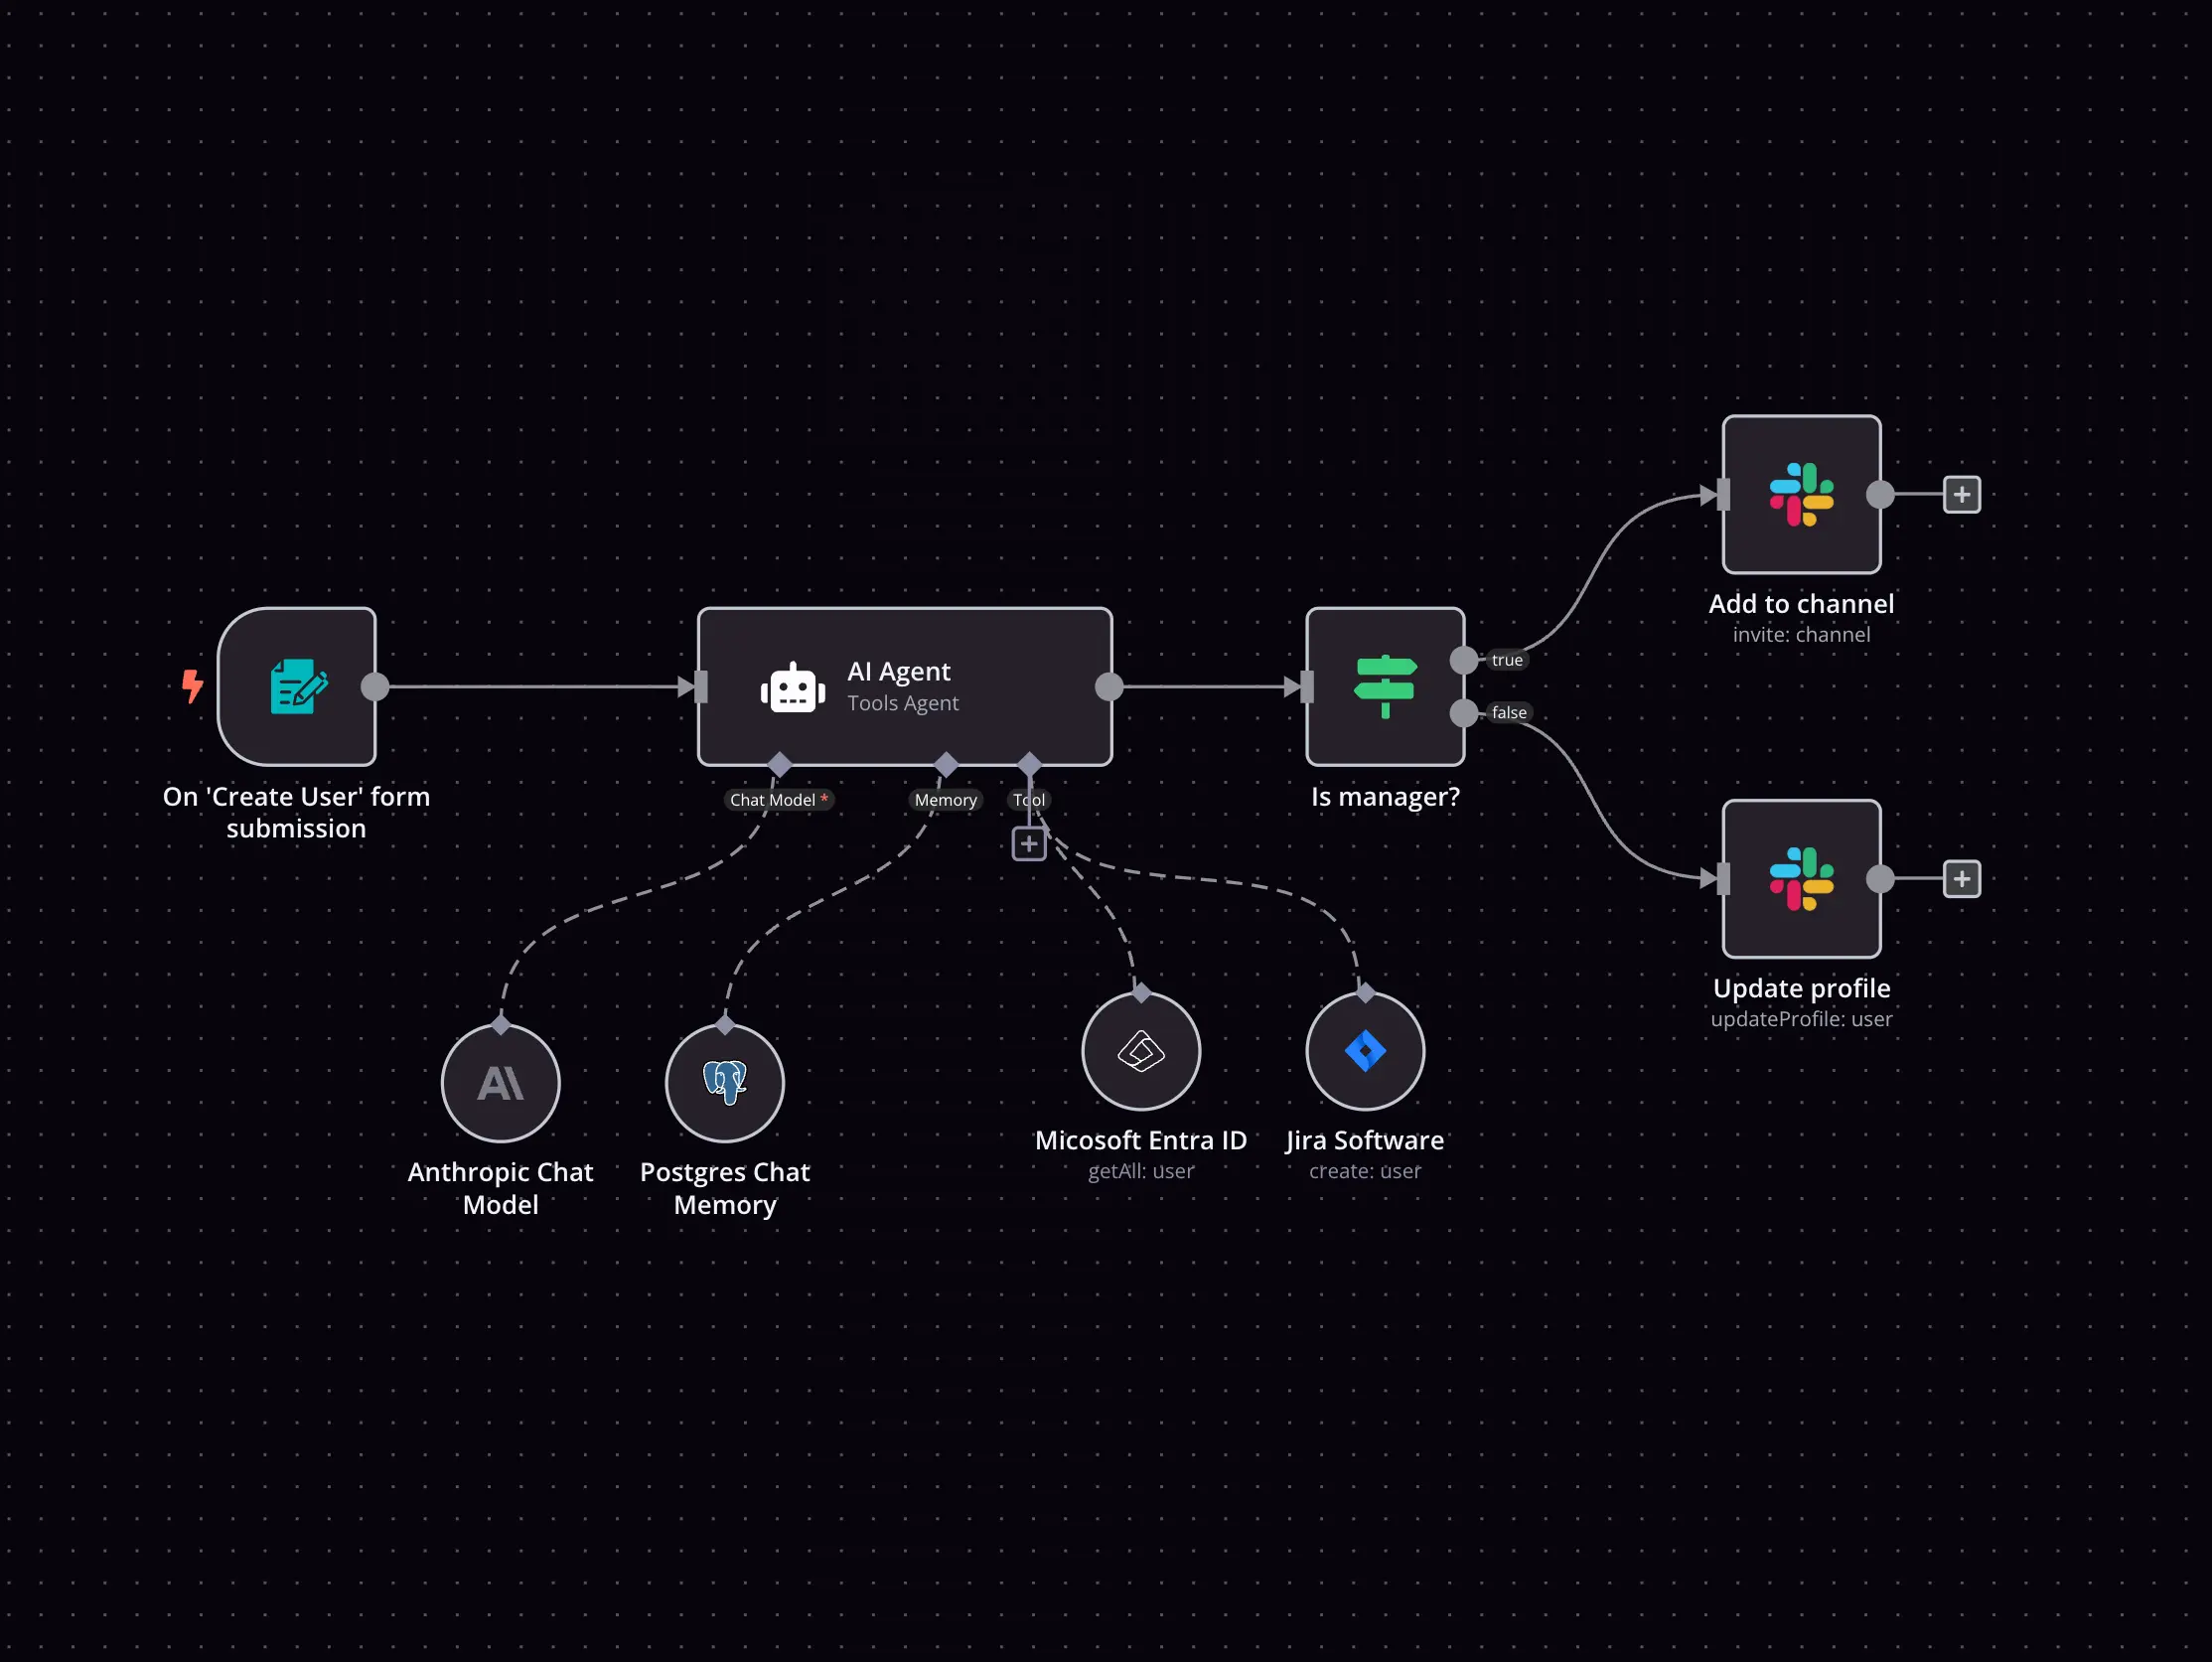
Build complex workflows, really fast

Handle branching, merging and iteration easily.
Pause your workflow to wait for external events.

Code when you need it, UI when you don't

Simple debugging

Your data is displayed alongside your settings, making edge cases easy to track down.

Use templates to get started fast

Use 1000+ workflow templates available from our core team and our community.

Reuse your work

Copy and paste, easily import and export workflows.

Implement complex processes faster with n8n

red iconyellow iconred iconyellow icon