Back to Templates


Summary
Automatically sync your Beex leads to HubSpot by handling both creation and update events in real time.
How It Works
-
Trigger Activation: The workflow is triggered when a lead is created or updated in Beex.
-
Data Transformation: The nested data structure from the Beex Trigger is flattened into a simple JSON format for easier processing.
-
Email Validation: The workflow verifies that the lead contains a valid email address (non-null), as this field serves as the unique identifier in HubSpot.
-
Field Mapping: Configure the fields (via drag and drop) that will be used to create or update a contact in HubSpot.
⚠️ Important: Field names must exactly match the contact property names defined in HubSpot.
-
Event Routing: The workflow routes the action based on the event type received:
contact_createorcontact_update. -
Branch Selection: If the event is
contact_create, the workflow follows the upper branch; otherwise, it continues through the lower branch. -
API Request Execution: The corresponding HTTP request is executed POST to create a new contact or PUT to update an existing one both using the same JSON body structure.
Setup Instructions
- Install Beex Nodes: Before importing the template, install the Beex trigger and node using the following package name:
n8n-nodes-beex
-
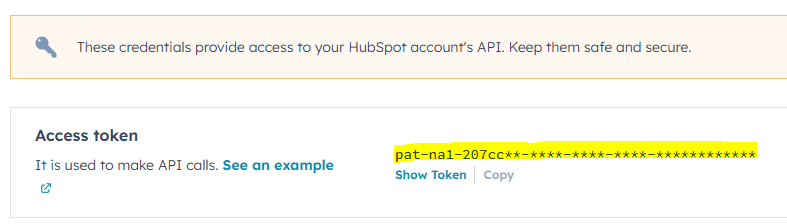
Configure HubSpot Credentials: Set up your HubSpot credentials with:
- Access Token (typically from a private app)
- Read/Write permissions for Contacts objects
-
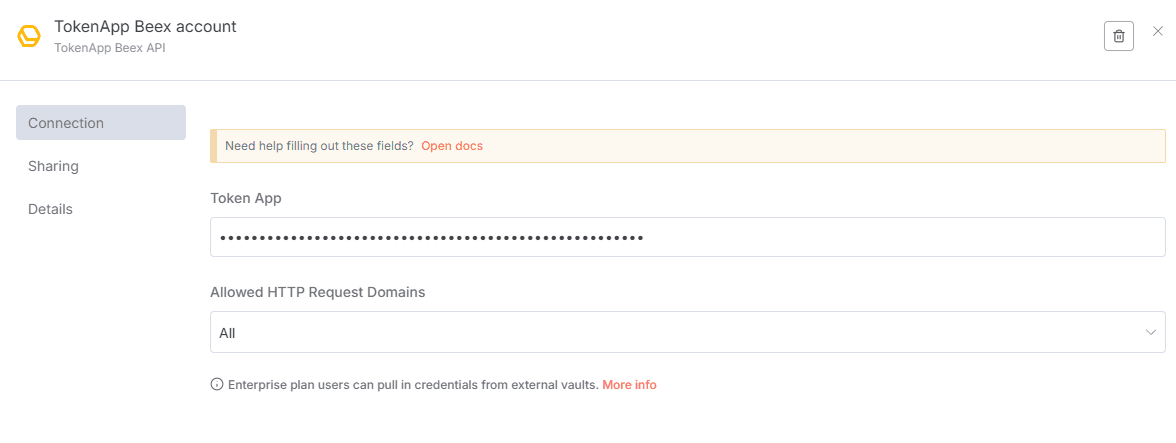
Configure Beex Credentials: For Beex users with platform access (for trial requests, contact [email protected]):
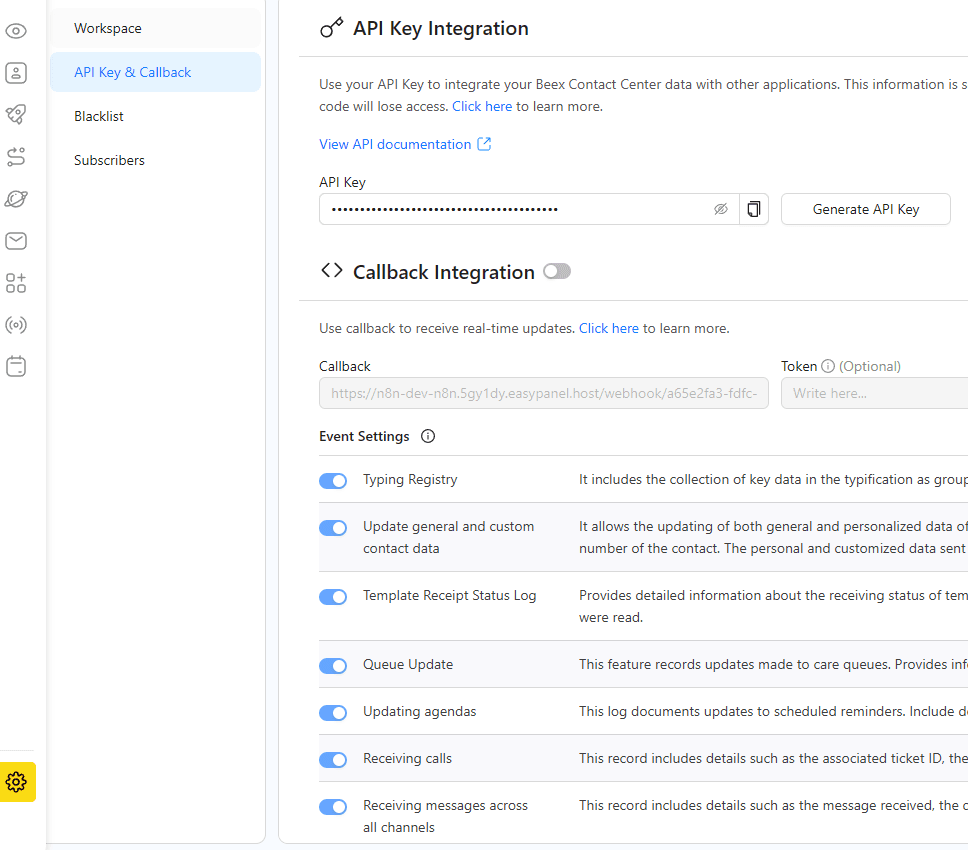
- Navigate to Platform Settings → API Key & Callback
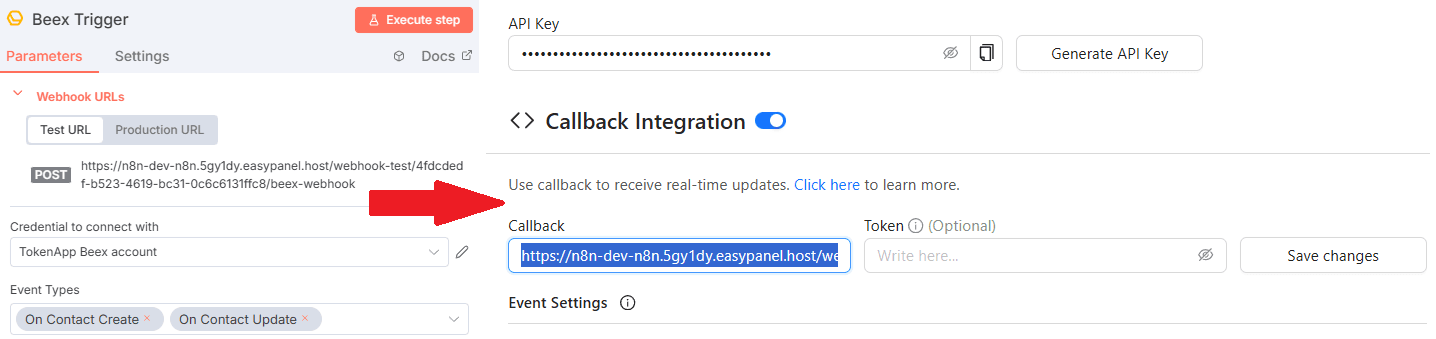
- Copy your API key and paste it into the Beex Trigger node in n8n
-
Set Up Webhook URL: Copy the Webhook URL (Test/Production) from the Beex Trigger Node and paste it into the Callback Integration section in Beex. Save your changes.
Requirements
- HubSpot: An account with a Private App Token and Read/Write permissions for Contacts objects.
- Beex: An account with lead generation permissions and a Bearer Token configured in the Trigger Node.
- Event Configuration: In the Beex platform's API Key & Callback section, enable the following events:
- "Update general and custom contact data"
- "Networking"

Customization Options
- Contact Filtering: Add filters to control which Beex leads should sync to HubSpot.
- Identifier Configuration: By default, only leads with a valid email address are processed to ensure accurate matching in HubSpot CRM. You can modify this logic to apply additional restrictions.
- Field Mapping: The "Set Fields Update" node is the primary customization point. Here you can map Beex fields to HubSpot properties for both creation and update operations (see Step 4 in How It Works).
- Field Compatibility: Ensure that Beex custom fields are compatible with HubSpot's default or custom properties; otherwise, API calls will fail due to schema mismatches.