Back to Templates


Who is this for?
The Capture Website Screenshots with Bright Data Web Unlocker and Save to Disk workflow is built for automation professionals and developers who need reliable, high-quality screenshots from any website even those protected by anti-bot technologies.
It is ideal for:
-
Compliance Teams - Capturing visual records of web content for legal or audit purposes.
-
Product Managers - Tracking visual changes across competitor landing pages.
-
Digital Marketers - Archiving campaign pages and offer variations.
-
Developers and QA Teams - Validating UI deployments or rendering issues.
-
Growth Hackers and Scrapers - Who need to bypass bot protection and capture visual snapshots of restricted content.
What problem is this workflow solving?
Websites today are highly protected with anti-bot tools like Cloudflare, bot detection scripts, and geo-restrictions. These protections often break traditional screenshot tools or prevent headless browsers from accessing content.
This workflow solves the following problems:
-
Bypasses anti-bot defenses using Bright Data Web Unlocker.
-
Automatically captures screenshots without manual browser steps.
-
Stores images locally for easy access or reporting.
-
Operates headlessly and at scale, perfect for automations or scheduled jobs.
What this workflow does
- Sets the target URL, file name, and Bright Data zone name using the Set URL, Filename and Bright Data Zone node.
- Sends an HTTP POST request to Bright Data Web Unlocker API to capture a screenshot.
- Saves the screenshot image (.png) to a specified disk location using the Write a file to disk node.
Pre-conditions
- You need to have a Bright Data account and do the necessary setup as mentioned in the "Setup" section below.
Setup
- Sign up at Bright Data.
- Navigate to Proxies & Scraping and create a new Web Unlocker zone by selecting Web Unlocker API under Scraping Solutions.
- In n8n, configure the Header Auth account under Credentials (Generic Auth Type: Header Authentication).
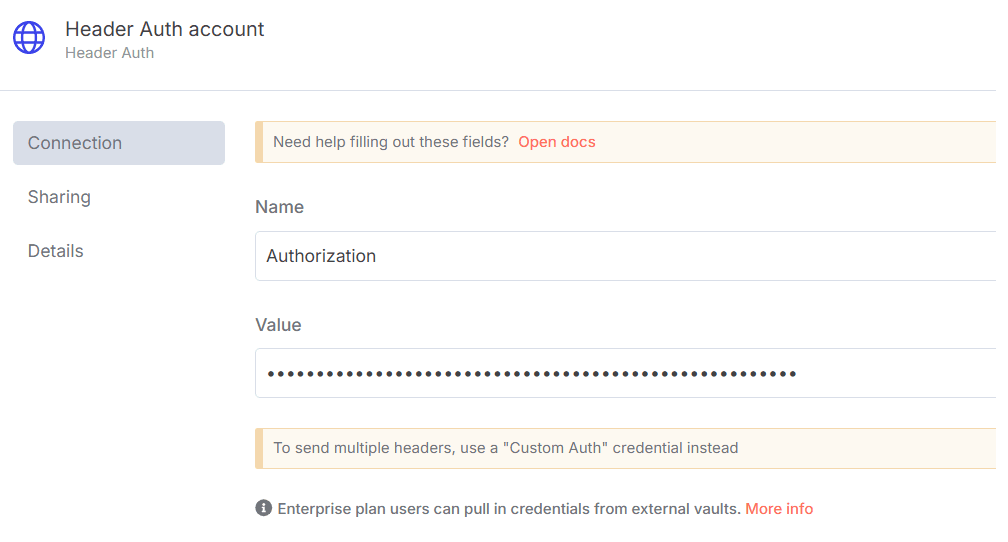
The Value field should be set with the
Bearer XXXXXXXXXXXXXX. The XXXXXXXXXXXXXX should be replaced by the Web Unlocker Token. - Ensure the URL, file name, and Bright Data zone name are correctly set in the Set URL, Filename and Bright Data Zone node.
- Set the desired local path in the Write a file to disk node to save the screenshot.
How to customize this workflow to your needs
- Change the target URL: Modify the value in the Set URL, Filename and Bright Data Zone node to capture different websites.
- Set dynamic filenames: Use expressions in n8n to generate filenames based on date/time or URL.
- Specify custom save paths: Adjust the path in the Write a file to disk node to store screenshots in your preferred directory.
- Enhance with notifications: Add additional nodes to send alerts or log activity after each screenshot is taken.
- Integrate with external systems: Send screenshots to cloud storage (e.g: AWS S3, Google Drive) or link into monitoring/reporting tools.