Back to Integrations
integrationWebhook node
integrationGraphQL node

Webhook and GraphQL integration

Save yourself the work of writing custom integrations for Webhook and GraphQL and use n8n instead. Build adaptable and scalable Development, Core Nodes, and Data & Storage workflows that work with your technology stack. All within a building experience you will love.

How to connect Webhook and GraphQL

  • Step 1: Create a new workflow
  • Step 2: Add and configure nodes
  • Step 3: Connect
  • Step 4: Customize and extend your integration
  • Step 5: Test and activate your workflow

Step 1: Create a new workflow and add the first step

In n8n, click the "Add workflow" button in the Workflows tab to create a new workflow. Add the starting point – a trigger on when your workflow should run: an app event, a schedule, a webhook call, another workflow, an AI chat, or a manual trigger. Sometimes, the HTTP Request node might already serve as your starting point.

Webhook and GraphQL integration: Create a new workflow and add the first step

Step 2: Add and configure Webhook and GraphQL nodes

You can find Webhook and GraphQL in the nodes panel. Drag them onto your workflow canvas, selecting their actions. Click each node, choose a credential, and authenticate to grant n8n access. Configure Webhook and GraphQL nodes one by one: input data on the left, parameters in the middle, and output data on the right.

Webhook and GraphQL integration: Add and configure Webhook and GraphQL nodes

Step 3: Connect Webhook and GraphQL

A connection establishes a link between Webhook and GraphQL (or vice versa) to route data through the workflow. Data flows from the output of one node to the input of another. You can have single or multiple connections for each node.

Webhook and GraphQL integration: Connect Webhook and GraphQL

Step 4: Customize and extend your Webhook and GraphQL integration

Use n8n's core nodes such as If, Split Out, Merge, and others to transform and manipulate data. Write custom JavaScript or Python in the Code node and run it as a step in your workflow. Connect Webhook and GraphQL with any of n8n’s 1000+ integrations, and incorporate advanced AI logic into your workflows.

Webhook and GraphQL integration: Customize and extend your Webhook and GraphQL integration

Step 5: Test and activate your Webhook and GraphQL workflow

Save and run the workflow to see if everything works as expected. Based on your configuration, data should flow from Webhook to GraphQL or vice versa. Easily debug your workflow: you can check past executions to isolate and fix the mistake. Once you've tested everything, make sure to save your workflow and activate it.

Webhook and GraphQL integration: Test and activate your Webhook and GraphQL workflow

API queries data from GraphQL

Simpe API which queries the received country code via GraphQL and returns it.

Example URL: https://n8n.exampl.ecom/webhook/1/webhook/webhook?code=DE

Receives country code from an incoming HTTP Request
Reads data via GraphQL
Converts the data to JSON
Constructs return string

Nodes used in this workflow

Popular Webhook and GraphQL workflows

Baserow campaign database to Shopify with image upload & dynamic template update

Automating your marketing campaign management process can streamline your workflow and save you valuable time. With the combination of Baserow and n8n, you can efficiently handle your campaign data and seamlessly publish content to your Shopify store. In this workflow template, I demonstrate how to leverage Baserow as a centralized platform for organizing your marketing campaign assets, including copy and images. By utilizing n8n, we automate the process of fetching images and campaign descriptions from Baserow and uploading them directly to your Shopify store. With this automated solution, you can expedite the publishing process, ensuring that your campaigns are launched swiftly across your sales channels. Additionally, this workflow serves as a foundational step towards further automation in campaign management, allowing you to dynamically generate and upload content to your Shopify store with ease. This template will help you: Use n8n to get images for marketing campaigns from Baserow and upload them to your Shopify media library Dynamically inject data from Baserow into a template file Upload a template file to your Shopify theme This template will demonstrate the follwing concepts in n8n: use the Webhook node use the IF node to control the execution flow of the workflow do time calculation using expressions and javascript use the GraphQL node to upload images to your Shopify media files create a dynamic template file for your Shopify theme use the HTTP Reqest node to upload your template file to your Shopify store How to get started? Create a custom app in Shopify get the credentials needed to connect n8n to Shopify This is needed for the Shopify Trigger Create Shopify Acces Token API credentials n n8n for the Shopify trigger node Create Header Auth credentials: Use X-Shopify-Access-Token as the name and the Acces-Token from the Shopify App you created as the value. The Header Auth is neccessary for the GraphQL nodes. You will need a running Baserow instance for this. You can also sign up for a free account at https://baserow.io/ Please make sure to read the notes in the template. For a detailed explanation please check the corresponding video: https://youtu.be/Ky-dYlljGiY

Sync Customer Email Subscriptions Between Shopify and Mautic

Having a seamless flow of customer data between your online store and your marketing platform is essential. By keeping your systems synchronized, you can ensure that your marketing campaigns are accurately targeted and effective. The integration between Shopify, a leading e-commerce platform, and Mautic, an open-source marketing automation system, is not available out-of-the-box. However, with a n8n workflow you can bridge this gap with. This template will help you: enhance accuracy in marketing lists by ensuring that subscription changes in Shopify are instantly updated in Mautic. improve compliance with data protection laws by respecting users' subscription preferences across platforms achieve integration without the need for additional plugins or software, minimizing complexity and potential points of failure. This template will demonstrate the follwing concepts in n8n: working with Shopify in n8n control flow with the IF node use Webhooks validate Webhooks with the Crypto node use the GraphQL node to call the Shopify Admin API The template consists of two parts: Sync Email Subscriptions from Shopify to Mautic Sync Email Subscriptions from Mautic to Shopify How to get started? Create a custom app in Shopify get the credentials needed to connect n8n to Shopify This is needed for the Shopify Trigger Create Shopify Acces Token API credentials n n8n for the Shopify trigger node Create Header Auth credentials: Use X-Shopify-Access-Token as the name and the Acces-Token from the Shopify App you created as the value. The Header Auth is neccessary for the GraphQL nodes. Enable the Mautic API under Configuration/API Settings, After the settings are saved you will have an additional entry in your settings menu to create API credentials for n8n Create Mautic credentials in n8n Please make sure to read the notes in the template. For a detailed explanation please check the corresponding video: https://youtu.be/x63rrh_yJzI

Low Stock & Sold Out Watcher for Shopify

This n8n workflow automates the process of monitoring inventory levels for Shopify products, ensuring timely updates and efficient stock management. It is designed to alert users when inventory levels are low or out of stock, integrating with Shopify's webhook system and providing notifications through Discord (can be changed to any messaging platform) with product images and details. Workflow Overview Webhook Node (Shopify Listener): This node is set up to listen for Shopify's inventory level webhook. It triggers the workflow whenever there is an update in the inventory levels. The webhook is configured in Shopify settings, where the n8n URL is specified to receive inventory level updates. Function Node (Inventory Check): This node processes the data received from the Shopify webhook. It extracts the available inventory and the inventory item ID, and determines whether the inventory is low (less than 4 items) or out of stock. Condition Nodes (Inventory Level Check): Two condition nodes follow the function node. One checks if the inventory is low (low_inventory equals true), and the other checks if the inventory is out of stock (out_of_stock equals true). GraphQL Node (Product Details Retrieval): Connected to the condition nodes, this node fetches detailed information about the product using Shopify's GraphQL API. It retrieves the product variant, title, current inventory quantity, and the first product image. HTTP Node (Discord Notification): The final node in the workflow sends a notification to Discord. It includes an embed with the product title, a warning message ("This product is running out of stock!"), the remaining inventory quantity, product variant details, and the product image. The notification ensures that relevant stakeholders are immediately informed about critical inventory levels.

Get contributors information from GitHub in Slack

Get your contributors GitHub information with a slash command in your Slack Workspace.

API queries data from GraphQL

Simpe API which queries the received country code via GraphQL and returns it. Example URL: https://n8n.exampl.ecom/webhook/1/webhook/webhook?code=DE Receives country code from an incoming HTTP Request Reads data via GraphQL Converts the data to JSON Constructs return string

Build your own Webhook and GraphQL integration

Create custom Webhook and GraphQL workflows by choosing triggers and actions. Nodes come with global operations and settings, as well as app-specific parameters that can be configured. You can also use the HTTP Request node to query data from any app or service with a REST API.

Webhook and GraphQL integration details

integrationWebhook node
Webhook

Webhooks are automatic notifications that apps send when something occurs. They are sent to a certain URL, which is effectively the app's phone number or address, and contain a message or payload. Polling is nearly never quicker than webhooks, and it takes less effort from you.

Use case

Save engineering resources

Reduce time spent on customer integrations, engineer faster POCs, keep your customer-specific functionality separate from product all without having to code.

Learn more

FAQs

  • Can Webhook connect with GraphQL?

  • Can I use Webhook’s API with n8n?

  • Can I use GraphQL’s API with n8n?

  • Is n8n secure for integrating Webhook and GraphQL?

  • How to get started with Webhook and GraphQL integration in n8n.io?

Need help setting up your Webhook and GraphQL integration?

Discover our latest community's recommendations and join the discussions about Webhook and GraphQL integration.
Benjamin Hatton
Albert Ashkhatoyan
Víctor González
Salomão
sg tech

Looking to integrate Webhook and GraphQL in your company?

Over 3000 companies switch to n8n every single week

Why use n8n to integrate Webhook with GraphQL

Build complex workflows, really fast
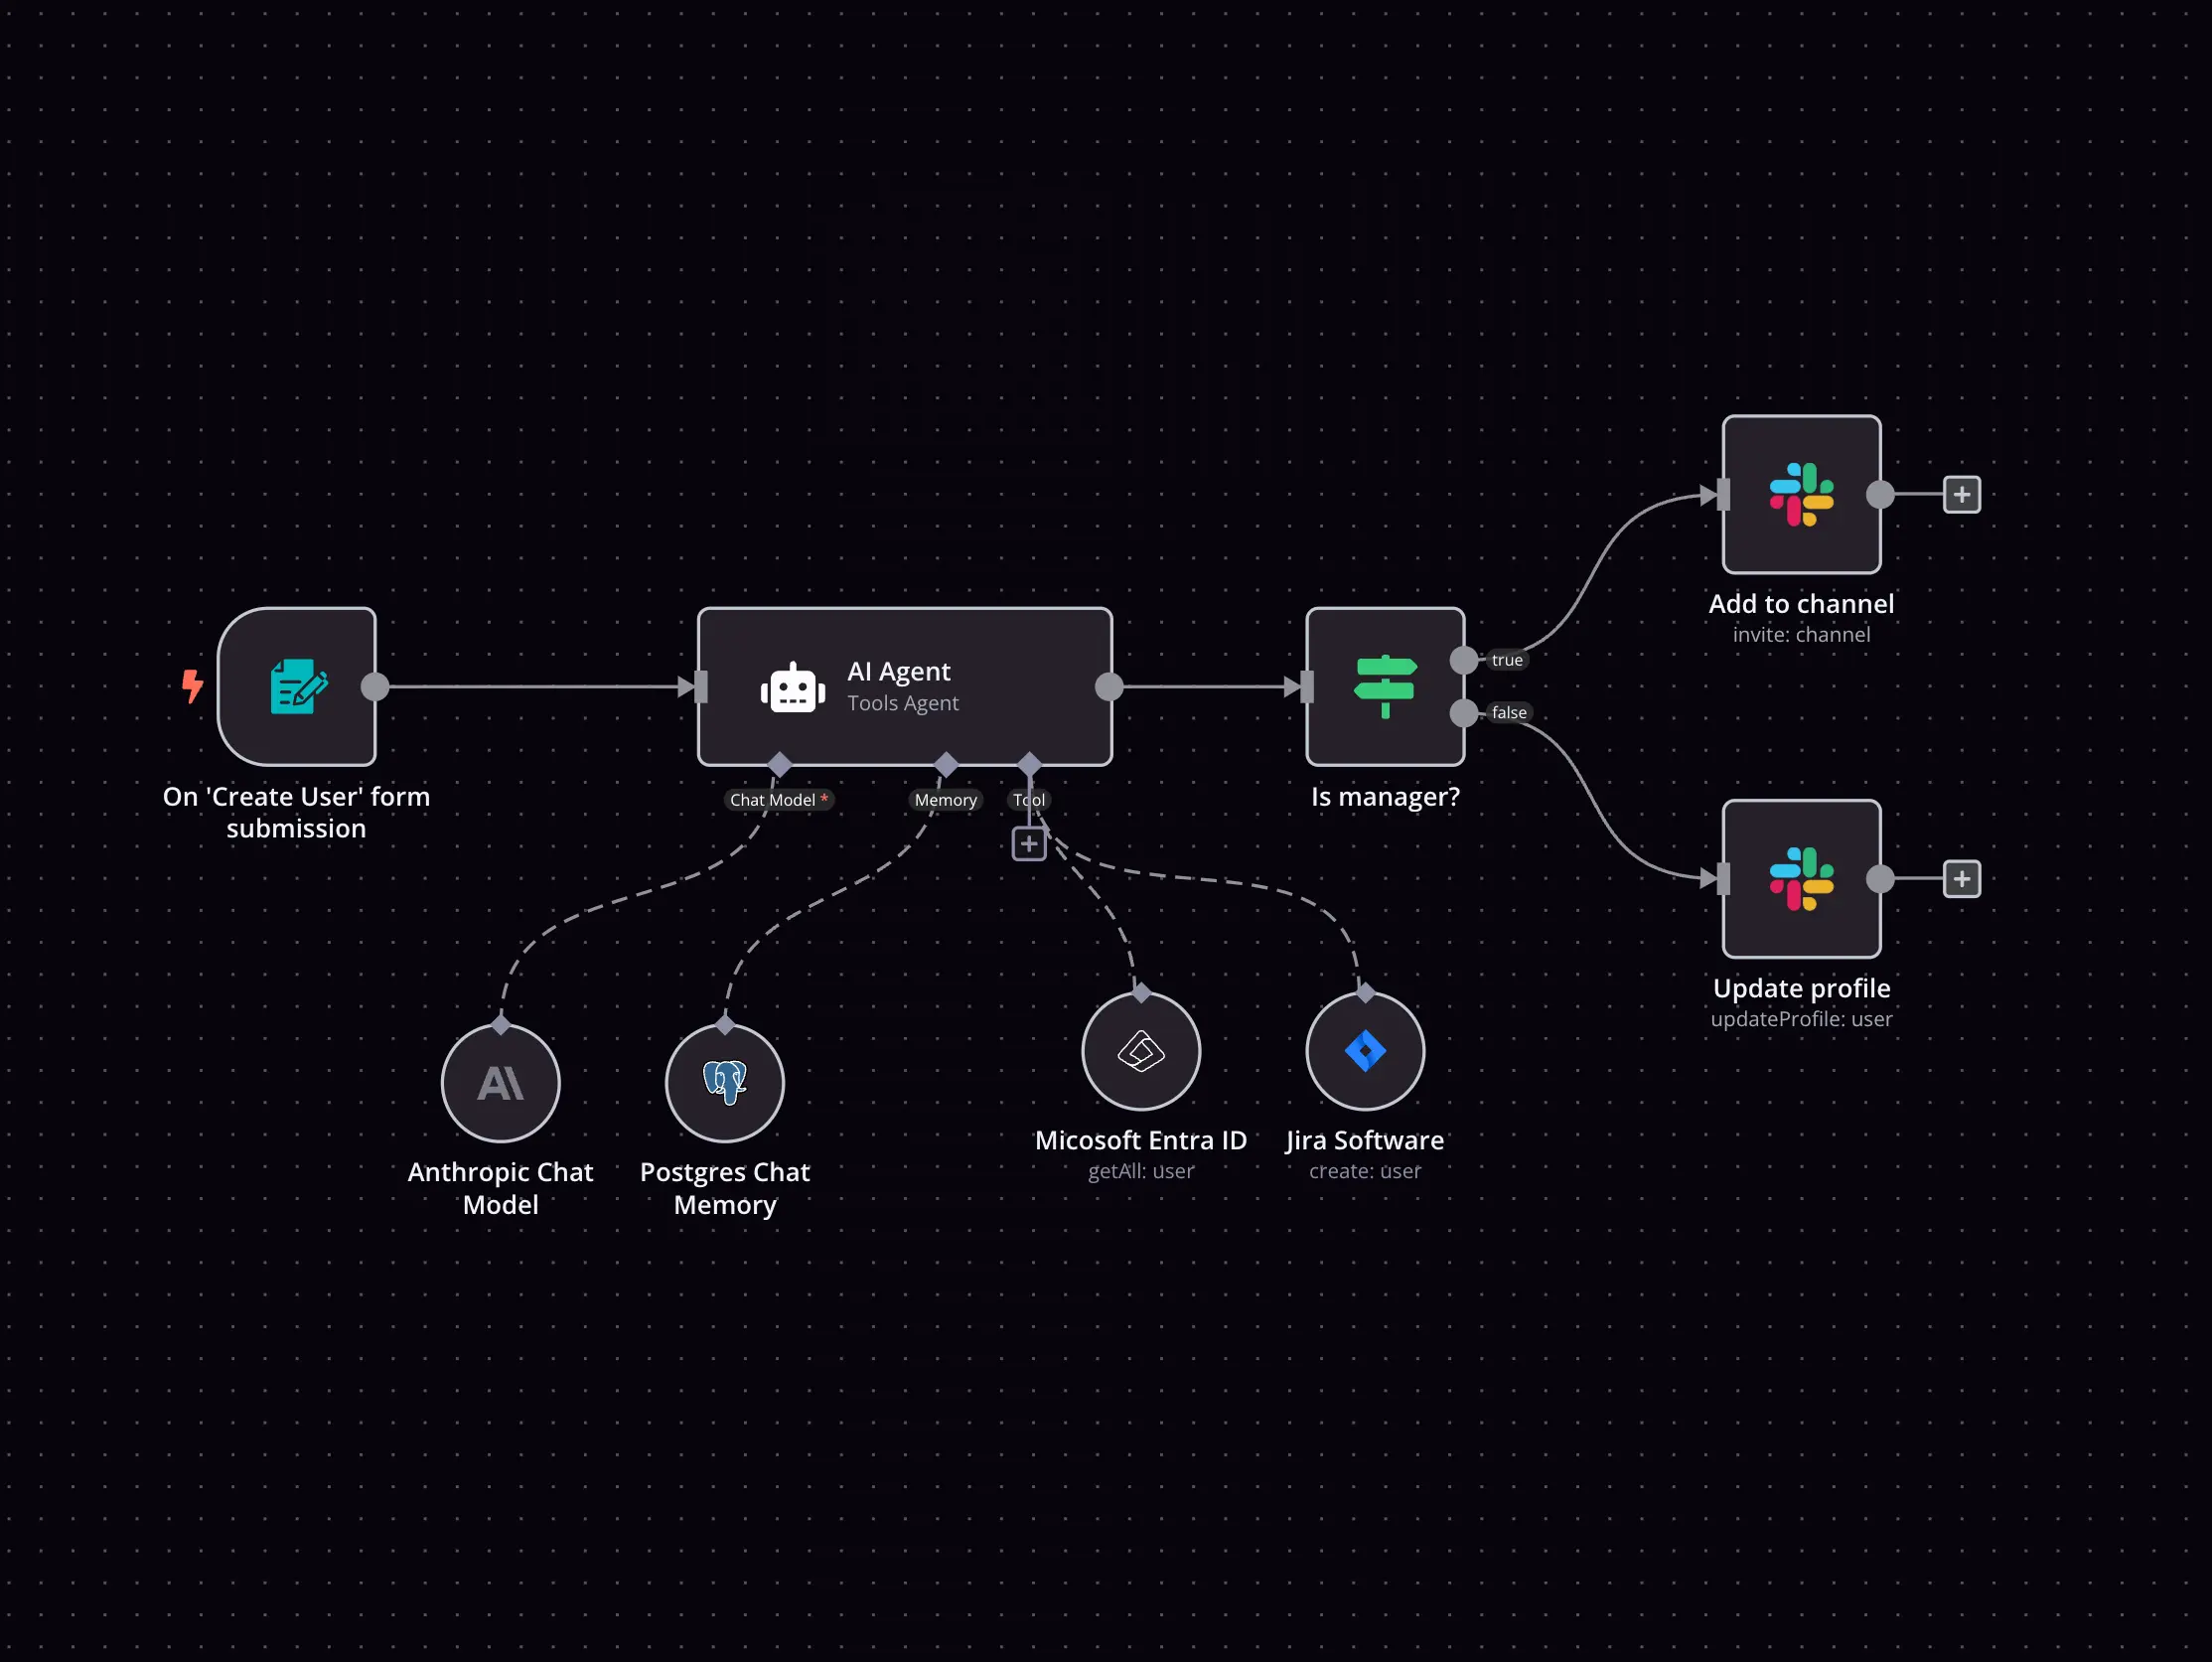
Build complex workflows, really fast

Handle branching, merging and iteration easily.
Pause your workflow to wait for external events.

Code when you need it, UI when you don't

Simple debugging

Your data is displayed alongside your settings, making edge cases easy to track down.

Use templates to get started fast

Use 1000+ workflow templates available from our core team and our community.

Reuse your work

Copy and paste, easily import and export workflows.

Implement complex processes faster with n8n

red iconyellow iconred iconyellow icon