Back to Integrations
integrationZendesk node
integrationJira Software node

Zendesk and Jira Software integration

Save yourself the work of writing custom integrations for Zendesk and Jira Software and use n8n instead. Build adaptable and scalable Communication, Development, and Productivity workflows that work with your technology stack. All within a building experience you will love.

How to connect Zendesk and Jira Software

  • Step 1: Set up n8n

  • Step 2: Create a new workflow to connect Zendesk and Jira Software

  • Step 3: Add the first step

  • Step 4: Add the Zendesk node

  • Step 5: Authenticate Zendesk

  • Step 6: Add the Jira Software node

  • Step 7: Authenticate Jira Software

  • Step 8: Configure Zendesk and Jira Software nodes

  • Step 9: Connect Zendesk and Jira Software

  • Step 10: Customize your Zendesk and Jira Software integration

  • Step 11: Save and activate workflow

  • Step 12: Test the workflow

Sync Zendesk tickets with subsequent comments to Jira issues

This workflow creates a Jira issue when a new ticket is created in Zendesk. Subsequent comments on the ticket in Zendesk are added as comments to the issue in Jira.

Prerequisites

How it works

  1. The workflow listens for new tickets in Zendesk.
  2. When a new ticket is created, the workflow creates a new issue in Jira.
  3. The Jira issue key is then saved in one of the ticket's fields (in setup we call this "Jira Issue Key").
  4. The next time a comment is added to the ticket, the workflow retrieves the Jira issue key from the ticket's field and adds the comment to the issue in Jira.

Setup

This workflow requires that you set up a webhook in Zendesk. To do so, follow the steps below:

  1. In the workflow, open the On new Zendesk ticket node and copy the webhook URL.

  2. In Zendesk, navigate to Admin Center > Apps and integrations > Webhooks > Actions > Create Webhook.

  3. Add all the required details which can be retrieved from the On new Zendesk ticket node. The webhook URL gets added to the “Endpoint URL” field, and the “Request method” should match what is shown in n8n.

  4. Save the webhook.

  5. In Zendesk, navigate to Admin Center > Objects and rules > Business rules > Triggers > Add trigger.

  6. Give the trigger a name such as “New tickets”.

  7. Under “Conditions” in “Meet ALL of the following conditions”, add “Status is New”.

  8. Under “Actions”, select “Notify active webhook” and select the webhook you created previously.

  9. In the JSON body, add the following:

    {
    	"id": "{{ticket.id}}",
    	"comment": "{{ticket.latest_comment_html}}"
    }
    
  10. Save the Zendesk trigger.

You will also need to set up a field in Zendesk to store the Jira issue key. To do so, follow the steps below:

  1. In Zendesk, navigate to Admin Center > Objects and rules > Tickets > Fields > Add field.
  2. Use the text field option and give the field a name such as “Jira Issue Key".
  3. Save the field.
  4. In n8n, open the Update ticket node and select the field you created in Zendesk.

Nodes used in this workflow

Popular Zendesk and Jira Software workflows

Webhook node
Jira Software node
Zendesk node

Sync Zendesk tickets with subsequent comments to Jira issues

This workflow creates a Jira issue when a new ticket is created in Zendesk. Subsequent comments on the ticket in Zendesk are added as comments to the issue in Jira. Prerequisites Zendesk account and Zendesk credentials. Jira account and Jira credentials. Jira project to create issues in. How it works The workflow listens for new tickets in Zendesk. When a new ticket is created, the workflow creates a new issue in Jira. The Jira issue key is then saved in one of the ticket's fields (in setup we call this "Jira Issue Key"). The next time a comment is added to the ticket, the workflow retrieves the Jira issue key from the ticket's field and adds the comment to the issue in Jira. Setup This workflow requires that you set up a webhook in Zendesk. To do so, follow the steps below: In the workflow, open the On new Zendesk ticket node and copy the webhook URL. In Zendesk, navigate to Admin Center > Apps and integrations > Webhooks > Actions > Create Webhook. Add all the required details which can be retrieved from the On new Zendesk ticket node. The webhook URL gets added to the “Endpoint URL” field, and the “Request method” should match what is shown in n8n. Save the webhook. In Zendesk, navigate to Admin Center > Objects and rules > Business rules > Triggers > Add trigger. Give the trigger a name such as “New tickets”. Under “Conditions” in “Meet ALL of the following conditions”, add “Status is New”. Under “Actions”, select “Notify active webhook” and select the webhook you created previously. In the JSON body, add the following: { "id": "{{ticket.id}}", "comment": "{{ticket.latest_comment_html}}" } Save the Zendesk trigger. You will also need to set up a field in Zendesk to store the Jira issue key. To do so, follow the steps below: In Zendesk, navigate to Admin Center > Objects and rules > Tickets > Fields > Add field. Use the text field option and give the field a name such as “Jira Issue Key". Save the field. In n8n, open the Update ticket node and select the field you created in Zendesk.

Build your own Zendesk and Jira Software integration

Create custom Zendesk and Jira Software workflows by choosing triggers and actions. Nodes come with global operations and settings, as well as app-specific parameters that can be configured. You can also use the HTTP Request node to query data from any app or service with a REST API.

Zendesk supported actions

Create
Create a ticket
Delete
Delete a ticket
Get
Get a ticket
Get Many
Get many tickets
Recover
Recover a suspended ticket
Update
Update a ticket
Get
Get a ticket field
Get Many
Get many system and custom ticket fields
Create
Create a user
Delete
Delete a user
Get
Get a user
Get Many
Get many users
Get Organizations
Get a user's organizations
Get Related Data
Get data related to the user
Search
Search users
Update
Update a user
Count
Count organizations
Create
Create an organization
Delete
Delete an organization
Get
Get an organization
Get Many
Get many organizations
Get Related Data
Get data related to the organization
Update
Update a organization

Jira Software supported actions

Changelog
Get issue changelog
Create
Create a new issue
Delete
Delete an issue
Get
Get an issue
Get Many
Get many issues
Notify
Create an email notification for an issue and add it to the mail queue
Status
Return either all transitions or a transition that can be performed by the user on an issue, based on the issue's status
Update
Update an issue
Add
Add attachment to issue
Get
Get an attachment
Get Many
Get many attachments
Remove
Remove an attachment
Add
Add comment to issue
Get
Get a comment
Get Many
Get many comments
Remove
Remove a comment
Update
Update a comment
Create
Create a new user
Delete
Delete a user
Get
Retrieve a user

FAQs

  • Can Zendesk connect with Jira Software?

  • Can I use Zendesk’s API with n8n?

  • Can I use Jira Software’s API with n8n?

  • Is n8n secure for integrating Zendesk and Jira Software?

  • How to get started with Zendesk and Jira Software integration in n8n.io?

Looking to integrate Zendesk and Jira Software in your company?

Over 3000 companies switch to n8n every single week

Why use n8n to integrate Zendesk with Jira Software

Build complex workflows, really fast
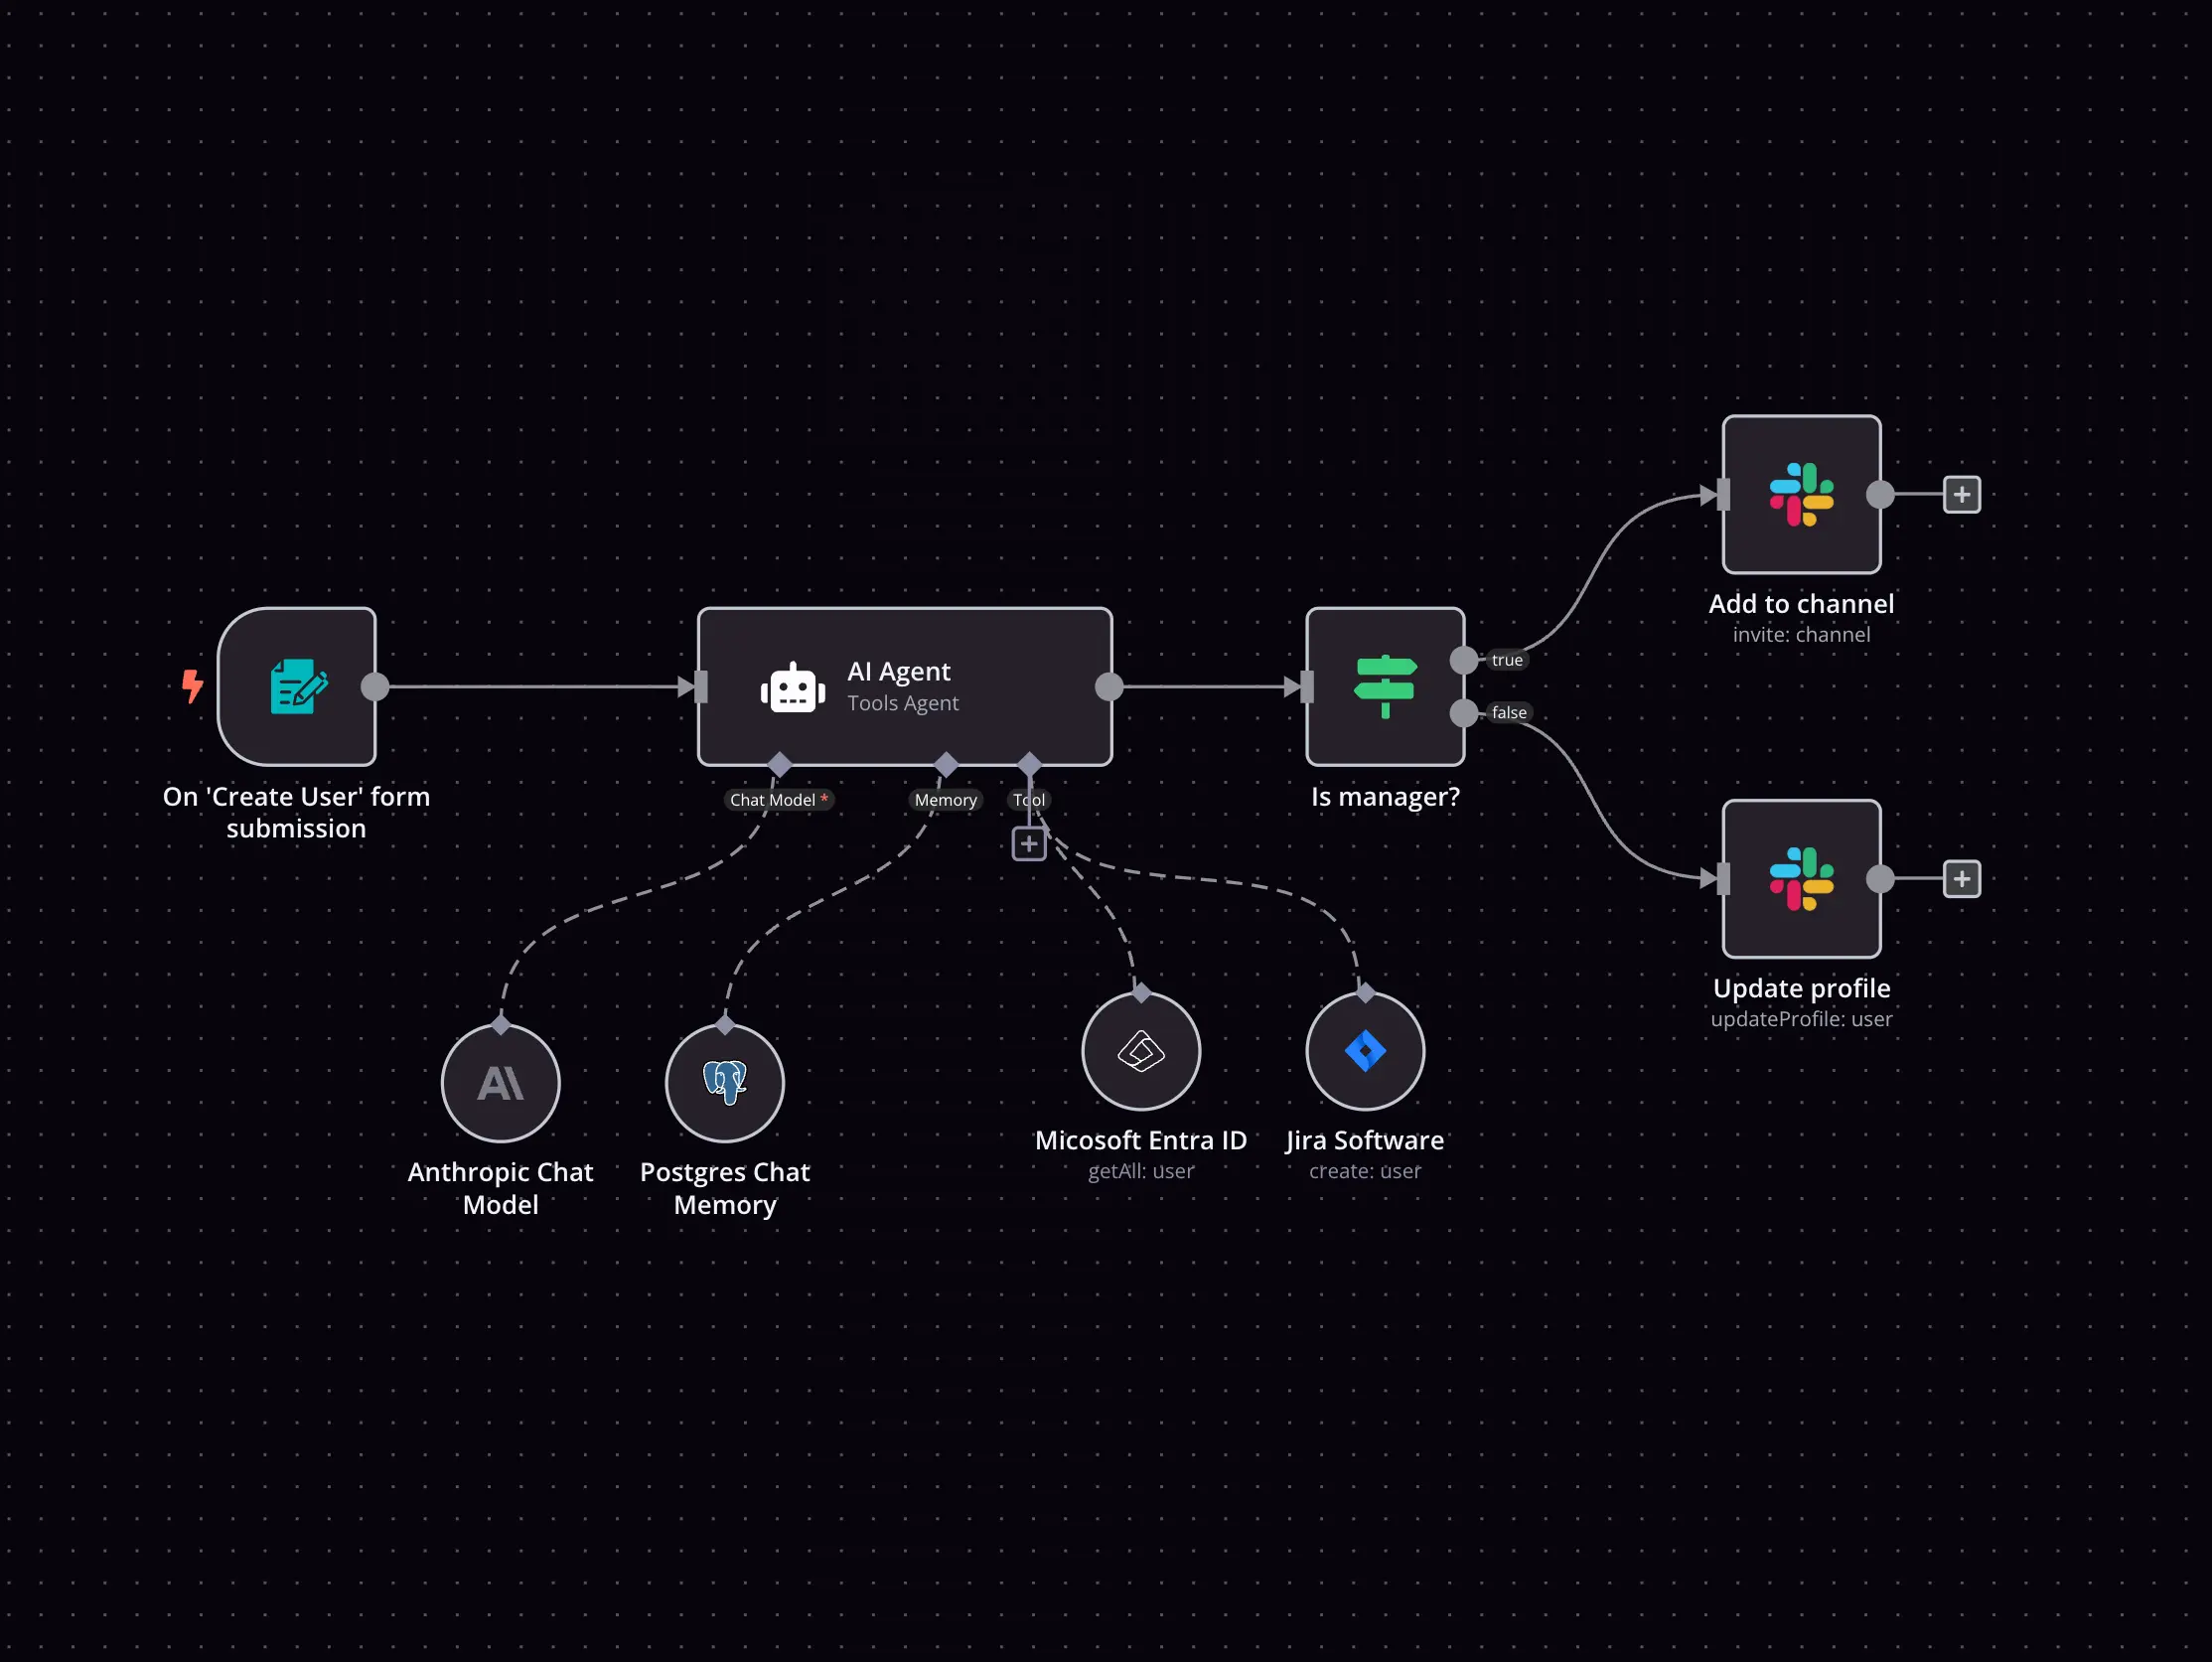
Build complex workflows, really fast

Handle branching, merging and iteration easily.
Pause your workflow to wait for external events.

Code when you need it, UI when you don't

Simple debugging

Your data is displayed alongside your settings, making edge cases easy to track down.

Use templates to get started fast

Use 1000+ workflow templates available from our core team and our community.

Reuse your work

Copy and paste, easily import and export workflows.

Implement complex processes faster with n8n

red iconyellow iconred iconyellow icon