Back to Integrations
integrationHTTP Request node
integrationWordpress node

HTTP Request and Wordpress integration

Save yourself the work of writing custom integrations for HTTP Request and Wordpress and use n8n instead. Build adaptable and scalable Development, Core Nodes, and Marketing workflows that work with your technology stack. All within a building experience you will love.

How to connect HTTP Request and Wordpress

  • Step 1: Create a new workflow
  • Step 2: Add and configure nodes
  • Step 3: Connect
  • Step 4: Customize and extend your integration
  • Step 5: Test and activate your workflow

Step 1: Create a new workflow and add the first step

In n8n, click the "Add workflow" button in the Workflows tab to create a new workflow. Add the starting point – a trigger on when your workflow should run: an app event, a schedule, a webhook call, another workflow, an AI chat, or a manual trigger. Sometimes, the HTTP Request node might already serve as your starting point.

HTTP Request and Wordpress integration: Create a new workflow and add the first step

Step 2: Add and configure HTTP Request and Wordpress nodes

You can find HTTP Request and Wordpress in the nodes panel. Drag them onto your workflow canvas, selecting their actions. Click each node, choose a credential, and authenticate to grant n8n access. Configure HTTP Request and Wordpress nodes one by one: input data on the left, parameters in the middle, and output data on the right.

HTTP Request and Wordpress integration: Add and configure HTTP Request and Wordpress nodes

Step 3: Connect HTTP Request and Wordpress

A connection establishes a link between HTTP Request and Wordpress (or vice versa) to route data through the workflow. Data flows from the output of one node to the input of another. You can have single or multiple connections for each node.

HTTP Request and Wordpress integration: Connect HTTP Request and Wordpress

Step 4: Customize and extend your HTTP Request and Wordpress integration

Use n8n's core nodes such as If, Split Out, Merge, and others to transform and manipulate data. Write custom JavaScript or Python in the Code node and run it as a step in your workflow. Connect HTTP Request and Wordpress with any of n8n’s 1000+ integrations, and incorporate advanced AI logic into your workflows.

HTTP Request and Wordpress integration: Customize and extend your HTTP Request and Wordpress integration

Step 5: Test and activate your HTTP Request and Wordpress workflow

Save and run the workflow to see if everything works as expected. Based on your configuration, data should flow from HTTP Request to Wordpress or vice versa. Easily debug your workflow: you can check past executions to isolate and fix the mistake. Once you've tested everything, make sure to save your workflow and activate it.

HTTP Request and Wordpress integration: Test and activate your HTTP Request and Wordpress workflow

Write a WordPress post with AI (starting from a few keywords)

This n8n workflow template allows you to write WordPress posts by just providing a few keywords. It uses AI technology to write the text and to create the post's featured image. The text includes an introduction, chapters, and conclusions. Each chapter is written independently and this allows you to create also very long articles. The workflow uses technologies provided by Open AI: Chat GPT for the text and Dall-E for the image.

I suggest reviewing the created posts before publishing them on your WordPress website.

The article generation might take some minutes as each chapter is created independently.

Features

Easy to use:** Easy web interface to start the generation of the WordPress post
AI-powered:** Text and image generation is done by artificial intelligence
Long-text ready:** Possibility to create very long articles
Configurable:** Possibility to provide as many keywords as you want, to choose the number of chapters and the length of the article
Plugs into your WordPress:** Easily integrates with your WordPress website
Tweak it as you want:** Fine-tune the Open AI prompts and the workflow as you want

Workflow Steps

User form:** An n8n form is used to trigger the post creation
Settings:** This node is used to set your WordPress URL (which is used later in the workflow)
Article structure:** First AI action that writes the introduction, the conclusions, and the chapter structure.
Data check:** Check that the data provided by the AI is valid
Chapters split/Chapters text:** Splits the data for each chapter in a separate item and generates each chapter's text with AI
Content preparation:** Prepares the text for posting merging the introduction, the chapters, and the conclusions. Adds some basic HTML formatting
Draft on WordPress:** Creates the draft post on WordPress
Featured image:** Creates a featured image and adds it to the post on WordPress
User feedback:** Sends a feedback to the user on the n8n form

Getting Started

To deploy and use this template:

Import the workflow into your n8n workspace
Set your WordPress URL in the wordpress_url field in the "Settings" node. Include the slash (/) at the end of the URL
Set up your Open AI n8n credentials by following this guide. The Open AI credentials are used by the Open AI nodes ("Create post title and structure", "Create chapters text", and "Generate featured image")
Set up your WordPress n8n credentials by following this guide. The WordPress credentials are used by the WordPress and HTTP Request nodes ("Post on Wordpress", "Upload media", and "Set image ID for the post"). Pay attention that the "Password" in the WordPress credentials is not the user's password by the Application Password

How use the workflow to create a WordPress post

Activate the workflow
Open the "Form" node and copy the "Production URL". This is the public URL of the form to AI-write the post
Open the URL in a browser and fill in the form
Wait a few minutes till you get the feedback in the form that the post was created
Go to WordPress and check the newly created draft post. Review and publish your post!

Nodes used in this workflow

Popular HTTP Request and Wordpress workflows

+3

✍️🌄 Your First Wordpress + AI Content Creator - Quick Start

✍️🌄 WordPress + AI Content Creator This workflow automates the creation and publishing of multi-reading-level content for WordPress blogs. It leverages AI to generate optimized articles, automatically creates featured images, and provides versions of the content at different reading levels (Grade 2, 5, and 9). How It Works Content Generation & Processing 🎯 Starts with a manual trigger and a user-defined blog topic Uses AI to create a structured blog post with proper HTML formatting Separates and validates the title and content components Saves a draft version to Google Drive for backup Multi-Reading Level Versions 📚 Automatically rewrites the content for different reading levels: Grade 9: Sophisticated language with appropriate metaphors Grade 5: Simplified with light humor and age-appropriate examples Grade 2: Basic language with simple metaphors and child-friendly explanations WordPress Integration 🌐 Creates a draft post in WordPress with the Grade 9 version Generates a relevant featured image using Pollinations.ai Automatically uploads and sets the featured image Sends success/error notifications via Telegram Setup Steps Configure API Credentials 🔑 Set up WordPress API connection Configure OpenAI API access Set up Google Drive integration Add Telegram bot credentials for notifications Customize Content Parameters ⚙️ Adjust reading level prompts as needed Modify image generation settings Set WordPress post parameters Test and Deploy 🚀 Run a test with a sample topic Verify all reading level versions Check WordPress draft creation Confirm notification system This workflow is perfect for content creators who need to maintain a consistent blog presence while catering to different audience reading levels. It's especially useful for educational content, news sites, or any platform that needs to communicate complex topics to diverse audiences.

Automated Content Generation & Publishing - Wordpress

Workflow Description: Automated Content Publishing for WordPress This n8n workflow automates the entire process of content generation, image selection, and scheduled publishing to a self-hosted WordPress website. It is designed for bloggers, marketers, and businesses who want to streamline their content creation and posting workflow. 🌟 Features ✅ AI-Powered Content Generation Uses ChatGPT to generate engaging, market-ready blog articles Dynamically incorporates high-search volume keywords ✅ Automated Image Selection Searches for relevant stock images from Pexels Embeds images directly into posts (Optional)* Supports Featured Image from URL (FIFU) plugin* for WordPress ✅ Scheduled & Randomized Posting Automatically schedules posts at predefined intervals Supports randomized delay (0-6 hours) for natural publishing ✅ WordPress API Integration Uses WordPress REST API to directly publish posts Configures featured images, categories, and metadata Supports SEO-friendly meta fields ✅ Flexible & Customizable Works with any WordPress website (self-hosted) Can be modified for other CMS platforms 🔧 How It Works 1️⃣ Trigger & Scheduling Automatically runs at preset times or on-demand Supports cron-like scheduling 2️⃣ AI Content Generation Uses a well-crafted prompt to generate high-quality blog posts Extracts relevant keywords for both SEO and image selection 3️⃣ Image Fetching from Pexels Searches and retrieves high-quality images Embeds image credits and ensures proper formatting 4️⃣ WordPress API Integration Sends post title, content, image, and metadata via HTTP Request Can include custom fields, categories, and tags 5️⃣ Randomized Delay Before Publishing Ensures natural posting behavior Avoids bulk publishing issues 📌 Requirements Self-hosted WordPress website* with REST API enabled* FIFU Plugin* (optional) for external featured images* n8n Self-Hosted or Cloud Instance** 🚀 Who Is This For? ✅ Bloggers who want to automate content publishing ✅ Marketing teams looking to scale content production ✅ Business owners who want to boost online presence ✅ SEO professionals who need consistent, optimized content 💡 Ready to Automate? 👉 Click here to get this workflow! (Replace with Purchase URL)
+2

📄✨ Easy WordPress Content Creation from PDF Docs + Human in the Loop Gmail

📄✨ Easy WordPress Content Creation from PDF Docs + Human in the Loop Gmail This n8n workflow automates the process of transforming PDF documents into engaging, SEO-friendly WordPress blog posts. It incorporates AI-powered text analysis, automatic image generation, and a human review step to ensure quality before publishing. 🚀 How It Works 🗂️ PDF Upload & Text Extraction Users upload a PDF document through a form trigger. The workflow extracts text from the uploaded file, ensuring compatibility with supported formats. 🤖 AI-Powered Blog Post Generation The extracted text is analyzed by an AI model (GPT-based) to create a structured blog post. The AI generates: A captivating SEO-friendly title. Well-formatted HTML content, including an introduction, chapters with subheadings, and a conclusion. 🎨 Image Creation & Integration An image is generated using Pollinations.ai based on the blog post title. The vibrant image is uploaded to WordPress and set as the featured image for the post. 📝 WordPress Draft Creation A draft blog post is created on WordPress with the AI-generated title, content, and featured image. ✅ Human-in-the-Loop Approval The draft content is sent via Gmail to a reviewer for manual approval. If approved, the post is published on WordPress. If not, an error message is sent for troubleshooting. 📢 Multi-Channel Notifications Once published, notifications are sent via Gmail and Telegram to relevant stakeholders. 🔧 Setup Steps 🔑 Configure API Credentials Set up API connections for: OpenAI (for AI content generation). WordPress (for post creation and media uploads). Gmail (for sending approval emails). Telegram (for notifications). imgbb (for saving blog image). ⚙️ Customize Workflow Parameters Adjust the AI prompt to match your desired blog structure and tone. Modify the image generation parameters to align with your branding needs. 🧪 Test & Deploy Test the workflow with sample PDFs to ensure: Accurate text extraction. Proper formatting of generated content. Seamless approval and publishing processes. This workflow streamlines content creation while maintaining quality control through human oversight, making it an ideal solution for efficient blog management! 🎉

Automate Content Generator for WordPress with DeepSeek R1

This workflow is designed to generate SEO-friendly content with DeepSeek R1 (or V3), publish it on WordPress, and update a Google Sheets document with the details of the created post. Below is a detailed analysis of what each node in the workflow does: How It Works Triggering the Workflow: The workflow starts with a Manual Trigger node, which is activated when the user clicks "Test workflow" in the n8n interface. Fetching Data: The Get Ideas node retrieves data from a Google Sheets document. It reads a specific sheet and filters the data based on the "ID POST" column, returning the first matching row. Setting the Prompt: The Set your prompt node extracts the PROMPT field from the Google Sheets data and assigns it to a variable for use in subsequent steps. Generating Content: The Generate article node uses an AI model (DeepSeek) to create an SEO-friendly article based on the prompt. The article includes an introduction, 2-3 chapters, and a conclusion, formatted in HTML. The Generate title node uses the same AI model to generate a concise, SEO-optimized title for the article. Publishing on WordPress: The Create post on WordPress node creates a new draft post on WordPress using the generated title and article content. Generating and Uploading an Image: The Generate Image node creates a photorealistic image based on the article title using an AI model (OpenAI). The Upload image node uploads the generated image to WordPress as a media file. The Set Image node assigns the uploaded image as the featured image for the WordPress post. Updating Google Sheets: The Update Sheet node updates the original Google Sheets document with the post details, including the title, post ID, creation date, and row number. Set Up Steps Configure Google Sheets Integration: Set up the Google Sheets node to connect to your Google account and specify the document ID and sheet name to read from and update. Set Up AI Models: Configure the OpenAI nodes (for generating the article, title, and image) with the appropriate API credentials and model settings (e.g., deepseek-reasoner for text generation). Configure WordPress Integration: Set up the WordPress node with your WordPress site's API credentials to allow creating posts and uploading media. Define the Prompt and Content Structure: In the Set your prompt node, ensure the prompt variable is correctly mapped to the data from Google Sheets. In the Generate article and Generate title nodes, define the instructions for the AI model to generate the desired content. Set Up Image Generation: Configure the Generate Image node with the appropriate prompt and image settings (e.g., size, quality, style). Configure HTTP Requests for Media Upload: Set up the Upload image and Set Image nodes to use the WordPress REST API for uploading and assigning the featured image. Map Data for Google Sheets Update: In the Update Sheet node, map the relevant fields (e.g., title, post ID, date) to the appropriate columns in the Google Sheets document. Test and Activate the Workflow: Run the workflow manually to ensure all steps execute correctly. Once verified, activate the workflow for automated execution. Overall purpose of the workflow This workflow automates the creation of SEO-friendly content for a WordPress blog. Starting from a prompt extracted from a Google Sheets document, it generates an article, a title, and an image, publishes the post on WordPress, and updates the Google Sheets document with the details of the created post. This process is useful for blog managers who want to automate content creation and publishing.
+4

WordPress Auto-Blogging Pro - Content Automation Machine for SEO topics

The best content automation in the market! This advanced workflow not only creates and publishes SEO-optimized blog posts to your WordPress website but also backs up all content and images to a designated folder in your Google Drive. In addition, It generates a unique image for each chapter and a featured image for the overall article, and it automatically collects internal website links—seamlessly inserting them throughout each chapter and the entire article. This integrated approach enhances on-page SEO, improves navigation, and streamlines your content creation process, saving you time while ensuring your work is securely stored. How it works Triggers upon adding a new row to a Google Sheets. Generates a full blog post by writing content based on customizable parameters such as topic, target audience, length, style, and seed keyword. Generates and adds images for each chapter as well as a featured image for the article. Gathers internal website links and strategically embeds them within each chapter and throughout the article, boosting SEO and enhancing user navigation. Publishes the blog post directly to your WordPress website. Saves all content (blog post and images) to Google Drive, organizing them in a folder named after the blog post title. Unique features Full Automation: The workflow is designed to be 100% automated. Once imported and configured, it can run without manual intervention. Simple Activation: It can be easily triggered through the Google Spreadsheets interface. You simply add a new row to a Google Sheet. Customization Options: Offers a wide array of customization options, including topic, category, target audience, word count, number of chapters, length of introduction and conclusion, and writing style. It also allows for the inclusion of calls-to-action (CTAs) and company/product introductions. Automatic Content Saving: After writing a blog post, all content and images are automatically saved to Google Drive, preventing data loss. The folder is even named after the title of the blog post. SEO-Optimized Content: It's designed to create content optimized for SEO using seed keywords. AI Model Flexibility: It’s super easy to switch between different AI models through the Open Router node. Rate Limit Handling: Includes "Wait" nodes to avoid rate limits. Internal Link Limit: Limits the number of internal links to 20 by default. Set up steps Install the workflow template: Import the JSON file into your n8n instance. Connect the workflow to your accounts: This includes linking your WordPress website, Google Drive, and AI models (such as OpenAI GPT-4o). Configure the Google Sheet: Ensure your Google Sheet is set up to trigger the workflow upon adding a new row and that the input data is correctly formatted. Customize the workflow: Adjust parameters like topic, target audience, and writing style to match your specific content needs. Optimize prompts for best results. Test the workflow: Use low-cost AI models and image settings initially to ensure everything runs smoothly. Tailor Further as Needed: Modify workflow elements to align perfectly with your needs and content strategy.
+7

Content Generator for WordPress v3

UPDATE This is an updated version of the previous Ultimate Content Generator for WordPress v2. https://n8n.io/workflows/2737-ultimate-content-generator-for-wordpress/ It includes an additional workflow to generate content using Anthropic Claude in addition to OpenAI 4o. I also mofidied it to use the AI Agent Tool node with structured output for more consistent outputs. Lastly, the workflow updates a new table in AirTable with the published blog post url and featured image url. Overview- This workflow automates the end-to-end process of creating, optimizing, and publishing content on WordPress. It integrates AI-powered tools, Airtable, and WordPress plugins to generate high-quality, on-brand posts effortlessly. Perfect for content creators, marketers, and business owners looking to save time and scale their content strategy. Features Content Creation: AI-Powered Content: Generates SEO-friendly blog posts with structured headings, relevant keywords, and meta descriptions. Custom Prompts: Tailor the AI-generated content to match your brand’s tone and voice. SEO Optimization: RankMath Plugin Integration: Updates RankMath SEO with focus keywords and meta descriptions, ensuring your content is search-engine optimized. Content Management: Airtable Integration: Organizes content ideas, drafts, and publishing schedules in one place. Easily scalable for teams or solo creators. Visuals: Branded Featured Images: Automatically generates on-brand images for every post. Publishing: Effortless Formatting: Adapts content to fit your WordPress theme and schedules it for publication. Workflow Steps Trigger: Initiated manually or on a schedule. Content Management: Retrieves and organizes ideas from Airtable. Content Generation: Generates AI-driven blog content tailored to your audience. SEO Optimization: Automatically updates RankMath with SEO details. Featured Image Creation: Produces on-brand images for the post. Publishing: Formats and schedules the post on WordPress. Prerequisites API Keys: OpenAI Claude Airtable WordPress REST API Custom Code: Add a small update to your WordPress theme’s functions.php file to enable seamless automation. Customization Replace Airtable with another content management system if preferred. Adjust AI prompts to reflect different tones, styles, or industries. Add integrations for additional plugins, analytics, or storage services. Usage Import the workflow into your n8n instance. Configure API credentials for WordPress, Airtable, OpenAI, Claude and Slack. Update your functions.php file with the provided code snippet. Customize prompts and Airtable structure for your content needs. Trigger the workflow manually or set it on a schedule. Notes Experiment with Airtable views or add filters for more granular control over your content pipeline. Extend the workflow to include social media posting or analytics tracking. Feel free to adapt and extend this workflow to meet your specific needs! 🎉

Build your own HTTP Request and Wordpress integration

Create custom HTTP Request and Wordpress workflows by choosing triggers and actions. Nodes come with global operations and settings, as well as app-specific parameters that can be configured. You can also use the HTTP Request node to query data from any app or service with a REST API.

Wordpress supported actions

Create
Create a post
Get
Get a post
Get Many
Get many posts
Update
Update a post
Create
Create a page
Get
Get a page
Get Many
Get many pages
Update
Update a page
Create
Create a user
Get
Get a user
Get Many
Get many users
Update
Update a user
Use case

Save engineering resources

Reduce time spent on customer integrations, engineer faster POCs, keep your customer-specific functionality separate from product all without having to code.

Learn more
Use case

Automate lead management

Using too many marketing tools? n8n lets you orchestrate all your apps into one cohesive, automated workflow.

Learn more

FAQs

  • Can HTTP Request connect with Wordpress?

  • Can I use HTTP Request’s API with n8n?

  • Can I use Wordpress’s API with n8n?

  • Is n8n secure for integrating HTTP Request and Wordpress?

  • How to get started with HTTP Request and Wordpress integration in n8n.io?

Need help setting up your HTTP Request and Wordpress integration?

Discover our latest community's recommendations and join the discussions about HTTP Request and Wordpress integration.
Moiz Contractor
theo
Jon
Dan Burykin
Tony

Looking to integrate HTTP Request and Wordpress in your company?

Over 3000 companies switch to n8n every single week

Why use n8n to integrate HTTP Request with Wordpress

Build complex workflows, really fast
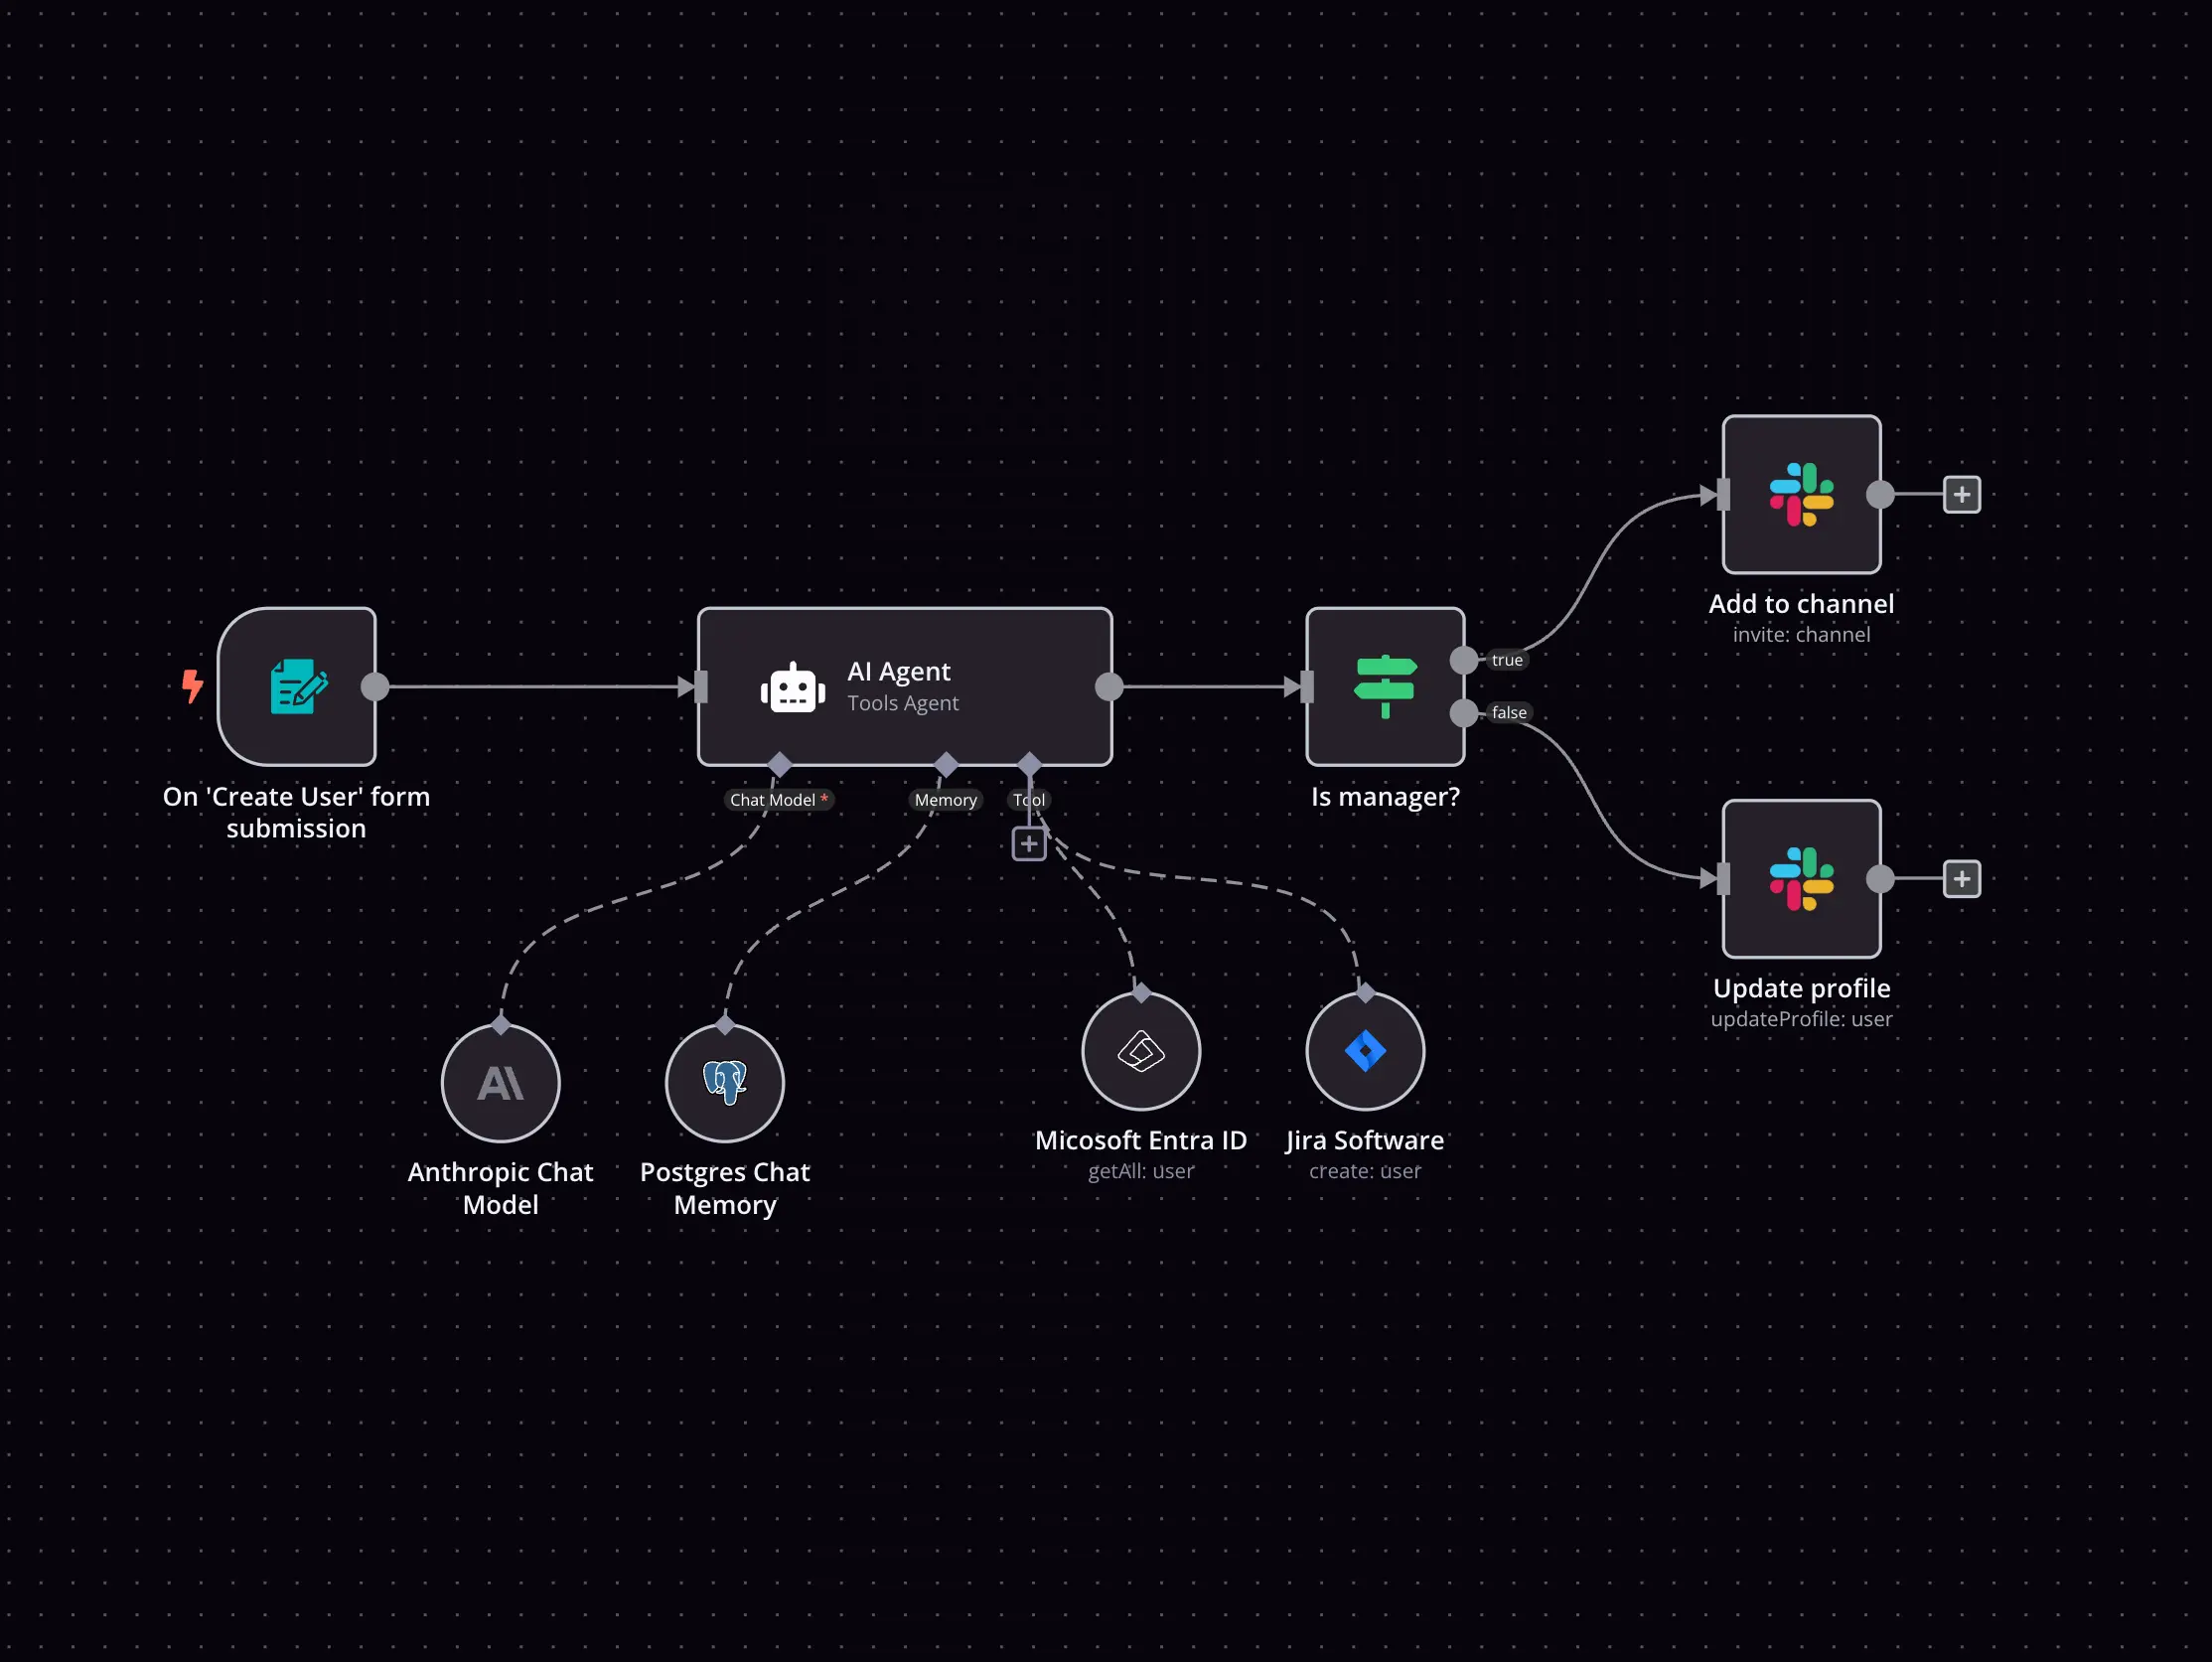
Build complex workflows, really fast

Handle branching, merging and iteration easily.
Pause your workflow to wait for external events.

Code when you need it, UI when you don't

Simple debugging

Your data is displayed alongside your settings, making edge cases easy to track down.

Use templates to get started fast

Use 1000+ workflow templates available from our core team and our community.

Reuse your work

Copy and paste, easily import and export workflows.

Implement complex processes faster with n8n

red iconyellow iconred iconyellow icon