Back to Integrations
integrationWebhook node
integrationJira Software node

Webhook and Jira Software integration

Save yourself the work of writing custom integrations for Webhook and Jira Software and use n8n instead. Build adaptable and scalable Development, Core Nodes, and Productivity workflows that work with your technology stack. All within a building experience you will love.

How to connect Webhook and Jira Software

  • Step 1: Create a new workflow
  • Step 2: Add and configure nodes
  • Step 3: Connect
  • Step 4: Customize and extend your integration
  • Step 5: Test and activate your workflow

Step 1: Create a new workflow and add the first step

In n8n, click the "Add workflow" button in the Workflows tab to create a new workflow. Add the starting point – a trigger on when your workflow should run: an app event, a schedule, a webhook call, another workflow, an AI chat, or a manual trigger. Sometimes, the HTTP Request node might already serve as your starting point.

Webhook and Jira Software integration: Create a new workflow and add the first step

Step 2: Add and configure Webhook and Jira Software nodes

You can find Webhook and Jira Software in the nodes panel. Drag them onto your workflow canvas, selecting their actions. Click each node, choose a credential, and authenticate to grant n8n access. Configure Webhook and Jira Software nodes one by one: input data on the left, parameters in the middle, and output data on the right.

Webhook and Jira Software integration: Add and configure Webhook and Jira Software nodes

Step 3: Connect Webhook and Jira Software

A connection establishes a link between Webhook and Jira Software (or vice versa) to route data through the workflow. Data flows from the output of one node to the input of another. You can have single or multiple connections for each node.

Webhook and Jira Software integration: Connect Webhook and Jira Software

Step 4: Customize and extend your Webhook and Jira Software integration

Use n8n's core nodes such as If, Split Out, Merge, and others to transform and manipulate data. Write custom JavaScript or Python in the Code node and run it as a step in your workflow. Connect Webhook and Jira Software with any of n8n’s 1000+ integrations, and incorporate advanced AI logic into your workflows.

Webhook and Jira Software integration: Customize and extend your Webhook and Jira Software integration

Step 5: Test and activate your Webhook and Jira Software workflow

Save and run the workflow to see if everything works as expected. Based on your configuration, data should flow from Webhook to Jira Software or vice versa. Easily debug your workflow: you can check past executions to isolate and fix the mistake. Once you've tested everything, make sure to save your workflow and activate it.

Webhook and Jira Software integration: Test and activate your Webhook and Jira Software workflow

Manage custom incident response in PagerDuty and Jira

This workflow automatically follows the steps in a custom incident response playbook and manages incidents in PagerDuty, Jira tickets, and notifies the on-call team in Mattermost.

This workflow consists of three sub-workflows, each automating specific steps in the playbook. Read more about this use case and learn how to set up the workflows step-by-step in the blog tutorial How to automate every step of an incident response workflow.

Prerequisites

A PagerDuty account and credentials
A Mattermost account and credentials
A Jira account and credentials

Nodes

Webhook nodes trigger the workflows when an incident is created in PagerDuty, and when the incidedent is acknowledged and resolved.
Mattermost nodes create an auxiliary channel for the on-call team to discuss the incident with buttons to acknowledge the incident and mark it as resolved.
PagerDuty nodes update the status of the incident.
Jira nodes create an issue about the incident and update its status when it's resolved.

Nodes used in this workflow

Popular Webhook and Jira Software workflows

Notify User in Slack of Quarantined Email and Create Jira Ticket if Opened

This n8n workflow serves as an incident response and notification system for handling potentially malicious emails flagged by Sublime Security. It begins with a Webhook trigger that Sublime Security uses to initiate the workflow by POSTing an alert. The workflow then extracts message details from Sublime Security using an HTTP Request node, based on the provided messageId, and subsequently splits into two parallel paths. In the first path, the workflow looks up a Slack user by email, aiming to find the recipient of the email that triggered the alert. If a user is found in Slack, a notification is sent to them, explaining that they have received a potentially malicious email that has been quarantined and is under investigation. This notification includes details such as the email's subject and sender. The second path checks whether the flagged email has been opened by inspecting the read_at value from Sublime Security. If the email was opened, the workflow prepares a table summarizing the flagged rules and creates a corresponding issue in Jira Software. The Jira issue contains information about the email, including its subject, sender, and recipient, along with the flagged rules. Issues that someone might encounter when setting up this workflow for the first time include potential problems with the Slack user lookup if the user information is not available or if Slack API integration is not configured correctly. Additionally, the issue creation in Jira Software may not work as expected, as indicated by the note that mentions a need for possible node replacement. Thorough testing and validation with sample data from Sublime Security alerts can help identify and resolve any potential issues during setup.

Create Unique Jira tickets from Splunk alerts

The workflow is an automated process designed for incident management and tracking, specifically by integrating Splunk alerts with a Jira ticketing system using n8n. The initial step in the workflow is a Webhook Trigger, which is set up to receive POST requests with data from Splunk to initiate the workflow. Once the workflow is triggered, the "Set Host Name" node cleans up the hostname received from Splunk, ensuring that it is alphanumeric for consistency and security purposes. Subsequently, the "Search Ticket" node interacts with Jira through a Jira Query Language (JQL) request to locate any existing issues that match the sanitized hostname. The workflow splits at the "IF Ticket Not Exists" node, which checks for the presence of a key indicating a matching issue. If an issue exists, the workflow proceeds to add a comment to the identified issue, and if not, it creates a new Jira issue. At the false path, the "Add Ticket Comment" node appends a new comment to the existing Jira issue, encapsulating details from the Splunk alert, such as the timestamp and the alert description.

Sync Zendesk tickets with subsequent comments to Jira issues

This workflow creates a Jira issue when a new ticket is created in Zendesk. Subsequent comments on the ticket in Zendesk are added as comments to the issue in Jira. Prerequisites Zendesk account and Zendesk credentials. Jira account and Jira credentials. Jira project to create issues in. How it works The workflow listens for new tickets in Zendesk. When a new ticket is created, the workflow creates a new issue in Jira. The Jira issue key is then saved in one of the ticket's fields (in setup we call this "Jira Issue Key"). The next time a comment is added to the ticket, the workflow retrieves the Jira issue key from the ticket's field and adds the comment to the issue in Jira. Setup This workflow requires that you set up a webhook in Zendesk. To do so, follow the steps below: In the workflow, open the On new Zendesk ticket node and copy the webhook URL. In Zendesk, navigate to Admin Center > Apps and integrations > Webhooks > Actions > Create Webhook. Add all the required details which can be retrieved from the On new Zendesk ticket node. The webhook URL gets added to the “Endpoint URL” field, and the “Request method” should match what is shown in n8n. Save the webhook. In Zendesk, navigate to Admin Center > Objects and rules > Business rules > Triggers > Add trigger. Give the trigger a name such as “New tickets”. Under “Conditions” in “Meet ALL of the following conditions”, add “Status is New”. Under “Actions”, select “Notify active webhook” and select the webhook you created previously. In the JSON body, add the following: { "id": "{{ticket.id}}", "comment": "{{ticket.latest_comment_html}}" } Save the Zendesk trigger. You will also need to set up a field in Zendesk to store the Jira issue key. To do so, follow the steps below: In Zendesk, navigate to Admin Center > Objects and rules > Tickets > Fields > Add field. Use the text field option and give the field a name such as “Jira Issue Key". Save the field. In n8n, open the Update ticket node and select the field you created in Zendesk.

Incident Response Workflow - Part 3

This workflow is the third of three. You can find the other workflkows here: Incident Response Workflow - Part 1 Incident Response Workflow - Part 2 Incident Response Workflow - Part 3 We have the following nodes in the workflow: Webhook node: This trigger node listens to the event when the Resolve button is clicked. PagerDuty node: This node changes the status of the incident report from Acknowledged to Resolved in PagerDuty. Jira Software node: This node moves the incident issue to Done. Mattermost node: This node publishes a message in the auxiliary channel mentioning that the incident has been marked as resolved in PagerDuty and Jira. Mattermost node: This node publishes a message in the specified Incidents channel that the incident has been resolved by the on-call team.

Manage custom incident response in PagerDuty and Jira

This workflow automatically follows the steps in a custom incident response playbook and manages incidents in PagerDuty, Jira tickets, and notifies the on-call team in Mattermost. This workflow consists of three sub-workflows, each automating specific steps in the playbook. Read more about this use case and learn how to set up the workflows step-by-step in the blog tutorial How to automate every step of an incident response workflow. Prerequisites A PagerDuty account and credentials A Mattermost account and credentials A Jira account and credentials Nodes Webhook nodes trigger the workflows when an incident is created in PagerDuty, and when the incidedent is acknowledged and resolved. Mattermost nodes create an auxiliary channel for the on-call team to discuss the incident with buttons to acknowledge the incident and mark it as resolved. PagerDuty nodes update the status of the incident. Jira nodes create an issue about the incident and update its status when it's resolved.

Build your own Webhook and Jira Software integration

Create custom Webhook and Jira Software workflows by choosing triggers and actions. Nodes come with global operations and settings, as well as app-specific parameters that can be configured. You can also use the HTTP Request node to query data from any app or service with a REST API.

Jira Software supported actions

Changelog
Get issue changelog
Create
Create a new issue
Delete
Delete an issue
Get
Get an issue
Get Many
Get many issues
Notify
Create an email notification for an issue and add it to the mail queue
Status
Return either all transitions or a transition that can be performed by the user on an issue, based on the issue's status
Update
Update an issue
Add
Add attachment to issue
Get
Get an attachment
Get Many
Get many attachments
Remove
Remove an attachment
Add
Add comment to issue
Get
Get a comment
Get Many
Get many comments
Remove
Remove a comment
Update
Update a comment
Create
Create a new user
Delete
Delete a user
Get
Retrieve a user

Webhook and Jira Software integration details

integrationWebhook node
Webhook

Webhooks are automatic notifications that apps send when something occurs. They are sent to a certain URL, which is effectively the app's phone number or address, and contain a message or payload. Polling is nearly never quicker than webhooks, and it takes less effort from you.

Use case

Save engineering resources

Reduce time spent on customer integrations, engineer faster POCs, keep your customer-specific functionality separate from product all without having to code.

Learn more

FAQs

  • Can Webhook connect with Jira Software?

  • Can I use Webhook’s API with n8n?

  • Can I use Jira Software’s API with n8n?

  • Is n8n secure for integrating Webhook and Jira Software?

  • How to get started with Webhook and Jira Software integration in n8n.io?

Need help setting up your Webhook and Jira Software integration?

Discover our latest community's recommendations and join the discussions about Webhook and Jira Software integration.
Benjamin Hatton
Albert Ashkhatoyan
Víctor González
Salomão
sg tech

Looking to integrate Webhook and Jira Software in your company?

Over 3000 companies switch to n8n every single week

Why use n8n to integrate Webhook with Jira Software

Build complex workflows, really fast
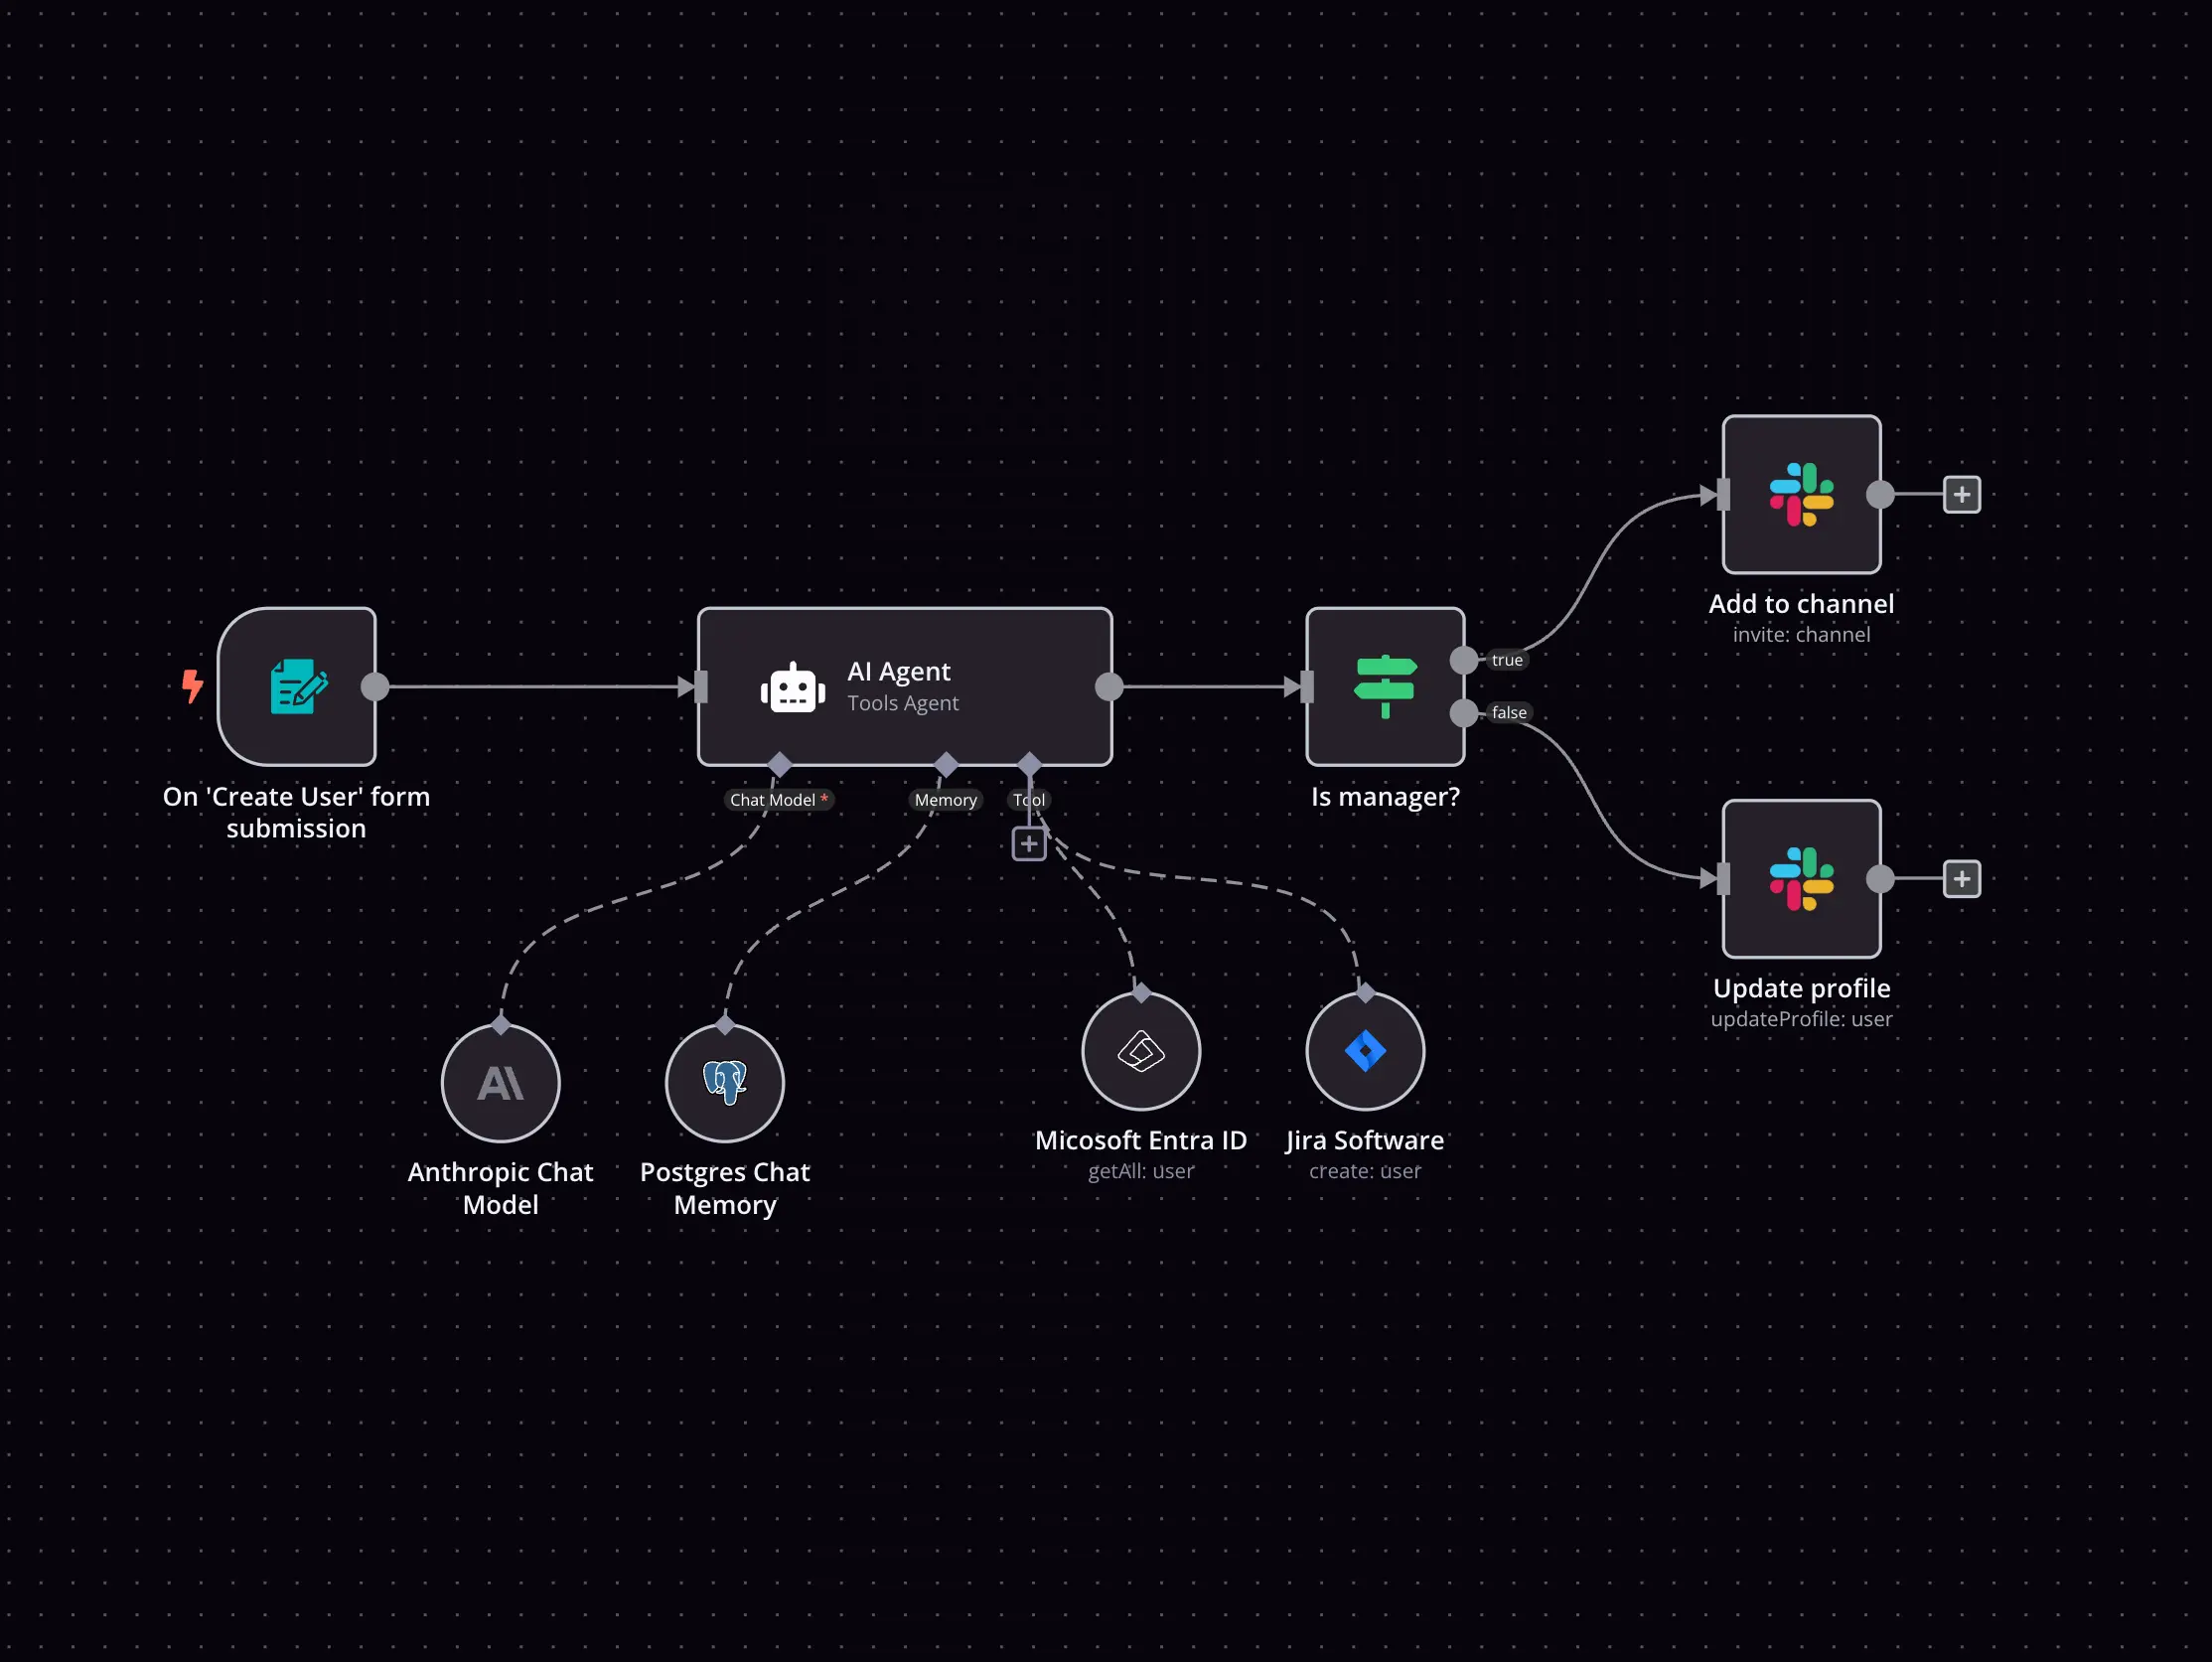
Build complex workflows, really fast

Handle branching, merging and iteration easily.
Pause your workflow to wait for external events.

Code when you need it, UI when you don't

Simple debugging

Your data is displayed alongside your settings, making edge cases easy to track down.

Use templates to get started fast

Use 1000+ workflow templates available from our core team and our community.

Reuse your work

Copy and paste, easily import and export workflows.

Implement complex processes faster with n8n

red iconyellow iconred iconyellow icon