Back to Integrations
integrationHTTP Request node
integrationLinear node

HTTP Request and Linear integration

Save yourself the work of writing custom integrations for HTTP Request and Linear and use n8n instead. Build adaptable and scalable Development, Core Nodes, and Productivity workflows that work with your technology stack. All within a building experience you will love.

How to connect HTTP Request and Linear

  • Step 1: Create a new workflow
  • Step 2: Add and configure nodes
  • Step 3: Connect
  • Step 4: Customize and extend your integration
  • Step 5: Test and activate your workflow

Step 1: Create a new workflow and add the first step

In n8n, click the "Add workflow" button in the Workflows tab to create a new workflow. Add the starting point – a trigger on when your workflow should run: an app event, a schedule, a webhook call, another workflow, an AI chat, or a manual trigger. Sometimes, the HTTP Request node might already serve as your starting point.

HTTP Request and Linear integration: Create a new workflow and add the first step

Step 2: Add and configure HTTP Request and Linear nodes

You can find HTTP Request and Linear in the nodes panel. Drag them onto your workflow canvas, selecting their actions. Click each node, choose a credential, and authenticate to grant n8n access. Configure HTTP Request and Linear nodes one by one: input data on the left, parameters in the middle, and output data on the right.

HTTP Request and Linear integration: Add and configure HTTP Request and Linear nodes

Step 3: Connect HTTP Request and Linear

A connection establishes a link between HTTP Request and Linear (or vice versa) to route data through the workflow. Data flows from the output of one node to the input of another. You can have single or multiple connections for each node.

HTTP Request and Linear integration: Connect HTTP Request and Linear

Step 4: Customize and extend your HTTP Request and Linear integration

Use n8n's core nodes such as If, Split Out, Merge, and others to transform and manipulate data. Write custom JavaScript or Python in the Code node and run it as a step in your workflow. Connect HTTP Request and Linear with any of n8n’s 1000+ integrations, and incorporate advanced AI logic into your workflows.

HTTP Request and Linear integration: Customize and extend your HTTP Request and Linear integration

Step 5: Test and activate your HTTP Request and Linear workflow

Save and run the workflow to see if everything works as expected. Based on your configuration, data should flow from HTTP Request to Linear or vice versa. Easily debug your workflow: you can check past executions to isolate and fix the mistake. Once you've tested everything, make sure to save your workflow and activate it.

HTTP Request and Linear integration: Test and activate your HTTP Request and Linear workflow

Visual Regression Testing with Apify and AI Vision Model

This n8n workflow is a proof-of-concept template exploring how we might work with multimodal LLMs and their multi-image analysis capabilities. In this demo, we compare 2 screenshots of a webpage taken at different timestamps and pass both to our multimodal LLM for a visual comparison of differences. Handling multiple binary inputs (ie. images) in an AI request is supported by n8n's basic LLM node.

How it works

This template is intended to run as 2 parts: first to generate the base screenshots and next to run the visual regression test which captures fresh screenshots.

  • Starting with a list of webpages captured in a Google sheet, base screenshots are captured for each using a external web scraping service called Apify.com (I prefer Apify but feel free to use whichever web scraping service available to you)
  • These base screenshots are uploaded to Google Drive and will be referenced later when we run our testing.
  • Phase 2 of the workflow, we'll use a scheduled trigger to fire sometime in the future which will reuse our web scraping service to generate fresh screenshots of our desired webpages.
  • Next, re-download our base screenshots in parallel and with both old and new captures, we'll pass these to our LLM node. In the LLM node's options, we'll define 2 "user message" inputs with the type of binary (data) for our images.
  • Finally, we'll prompt our LLM with our testing criteria and capture the regressions detected. Note, results will vary depending on which LLM you use.
  • A final report can be generated using the LLM's output and is uploaded to Linear.

Requirements

  • Apify.com API key for web screenshotting service
  • Google Drive and Sheets access to store list of webpages and captures

Customising this workflow

  • Have your own preferred web screenshotting service? Feel free to swap out Apify with your service of choice.

  • If the web screenshot is too large, it may prove difficult for the LLM to spot differences with precision. Try splitting up captures into smaller images instead.

Nodes used in this workflow

Popular HTTP Request and Linear workflows

Google Drive node
Google Gemini Chat Model node
+5

Visual Regression Testing with Apify and AI Vision Model

This n8n workflow is a proof-of-concept template exploring how we might work with multimodal LLMs and their multi-image analysis capabilities. In this demo, we compare 2 screenshots of a webpage taken at different timestamps and pass both to our multimodal LLM for a visual comparison of differences. Handling multiple binary inputs (ie. images) in an AI request is supported by n8n's basic LLM node. How it works This template is intended to run as 2 parts: first to generate the base screenshots and next to run the visual regression test which captures fresh screenshots. Starting with a list of webpages captured in a Google sheet, base screenshots are captured for each using a external web scraping service called Apify.com (I prefer Apify but feel free to use whichever web scraping service available to you) These base screenshots are uploaded to Google Drive and will be referenced later when we run our testing. Phase 2 of the workflow, we'll use a scheduled trigger to fire sometime in the future which will reuse our web scraping service to generate fresh screenshots of our desired webpages. Next, re-download our base screenshots in parallel and with both old and new captures, we'll pass these to our LLM node. In the LLM node's options, we'll define 2 "user message" inputs with the type of binary (data) for our images. Finally, we'll prompt our LLM with our testing criteria and capture the regressions detected. Note, results will vary depending on which LLM you use. A final report can be generated using the LLM's output and is uploaded to Linear. Requirements Apify.com API key for web screenshotting service Google Drive and Sheets access to store list of webpages and captures Customising this workflow Have your own preferred web screenshotting service? Feel free to swap out Apify with your service of choice. If the web screenshot is too large, it may prove difficult for the LLM to spot differences with precision. Try splitting up captures into smaller images instead.
Linear Trigger node
Linear node
HTTP Request node
+5

Classify new bugs in Linear with OpenAI's GPT-4 and move them to the right team

Use case When working with multiple teams, bugs must get in front of the right team as quickly as possible to be resolved. Normally this includes a manual grooming of new bugs that have arrived in your ticketing system (in our case Linear). We found this way too time-consuming. That's why we built this workflow. What this workflow does This workflow triggers every time a Linear issue is created or updated within a certain team. For us at n8n, we created one general team called Engineering where all bugs get added in the beginning. The workflow then checks if the issue meets the criteria to be auto-moved to a certain team. In our case, that means that the description is filled, that it has the bug label, and that it's in the Triage state. The workflow then classifies the bug using OpenAI's GPT-4 model before updating the team property of the Linear issue. If the AI fails to classify a team, the workflow sends an alert to Slack. Setup Add your Linear and OpenAi credentials Change the team in the Linear Trigger to match your needs Customize your teams and their areas of responsibility in the Set me up node. Please use the format Teamname. Also, make sure that the team names match the names in Linear exactly. Change the Slack channel in the Set me up node to your Slack channel of choice. How to adjust it to your needs Play around with the context that you're giving to OpenAI, to make sure the model has enough knowledge about your teams and their areas of responsibility Adjust the handling of AI failures to your needs How to enhance this workflow At n8n we use this workflow in combination with some others. E.g. we have the following things on top: We're using an automation that enables everyone to add new bugs easily with the right data via a /bug command in Slack (check out this template if that's interesting to you) This workflow was built using n8n version 1.30.0
GraphQL node
Notion node
Aggregate node
+5

Create Linear tickets from Notion content

This workflow allows you to define multiple tickets/issues in a Notion page, then easily import them into Linear. Why is it useful? We use this workflow internally at n8n for collaboration between Product and Engineering teams: Engineering needs all work to be in our ticketing system (Linear) in order to keep track of it Product prefers to review features in Notion. This is because it and can be used to dump all your thoughts and organise them into themes afterwards, plus it better supports rich content like videos Features Supports rich formatting (bullets, images, videos, links, etc.) Keeps links between the Notion and Linear version, in case you need to refer back Allows you to assign each issue to a team member in the Notion definition Avoids importing the same issues twice if you run it again on the same page (meaning you can issues incrementally) You can see an example of the required format of the Notion page here.

Build your own HTTP Request and Linear integration

Create custom HTTP Request and Linear workflows by choosing triggers and actions. Nodes come with global operations and settings, as well as app-specific parameters that can be configured. You can also use the HTTP Request node to query data from any app or service with a REST API.

Linear supported actions

Create
Create an issue
Delete
Delete an issue
Get
Get an issue
Get Many
Get many issues
Update
Update an issue
Use case

Save engineering resources

Reduce time spent on customer integrations, engineer faster POCs, keep your customer-specific functionality separate from product all without having to code.

Learn more

FAQs

  • Can HTTP Request connect with Linear?

  • Can I use HTTP Request’s API with n8n?

  • Can I use Linear’s API with n8n?

  • Is n8n secure for integrating HTTP Request and Linear?

  • How to get started with HTTP Request and Linear integration in n8n.io?

Looking to integrate HTTP Request and Linear in your company?

Over 3000 companies switch to n8n every single week

Why use n8n to integrate HTTP Request with Linear

Build complex workflows, really fast
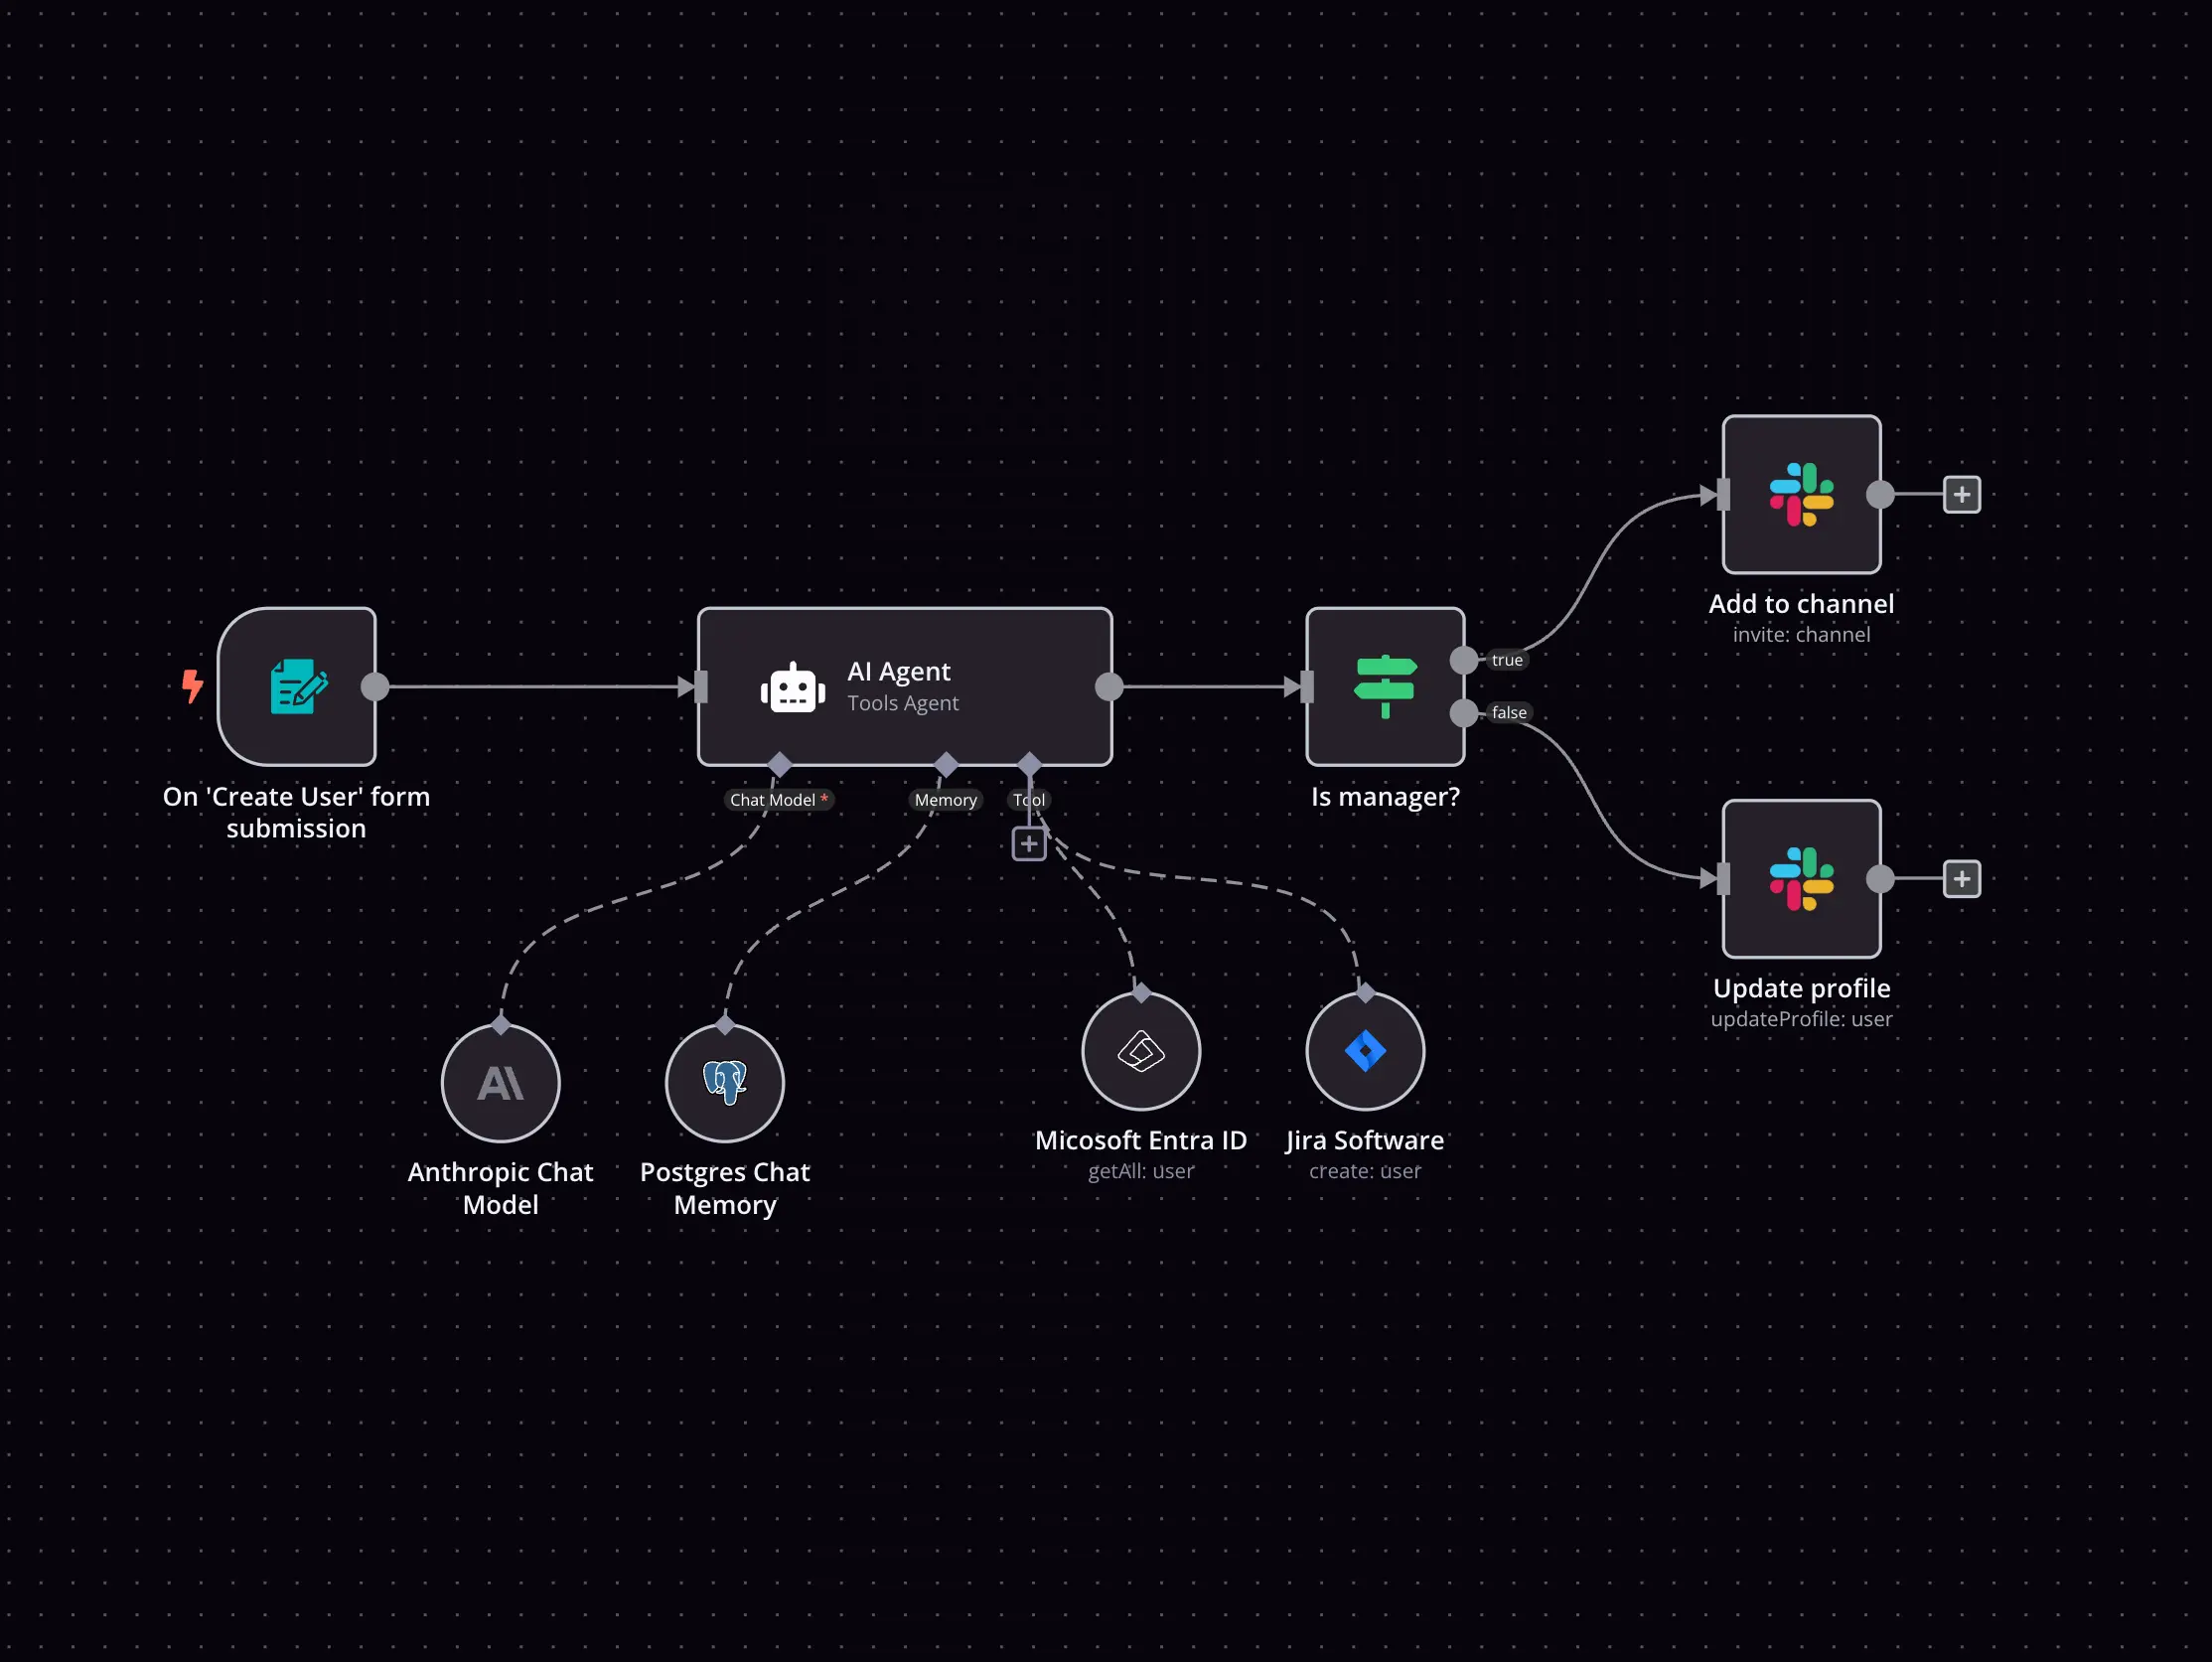
Build complex workflows, really fast

Handle branching, merging and iteration easily.
Pause your workflow to wait for external events.

Code when you need it, UI when you don't

Simple debugging

Your data is displayed alongside your settings, making edge cases easy to track down.

Use templates to get started fast

Use 1000+ workflow templates available from our core team and our community.

Reuse your work

Copy and paste, easily import and export workflows.

Implement complex processes faster with n8n

red iconyellow iconred iconyellow icon