Back to Integrations
integrationWebhook node
integrationNotion node

Webhook and Notion integration

Save yourself the work of writing custom integrations for Webhook and Notion and use n8n instead. Build adaptable and scalable Development, Core Nodes, and Productivity workflows that work with your technology stack. All within a building experience you will love.

How to connect Webhook and Notion

  • Step 1: Create a new workflow
  • Step 2: Add and configure nodes
  • Step 3: Connect
  • Step 4: Customize and extend your integration
  • Step 5: Test and activate your workflow

Step 1: Create a new workflow and add the first step

In n8n, click the "Add workflow" button in the Workflows tab to create a new workflow. Add the starting point – a trigger on when your workflow should run: an app event, a schedule, a webhook call, another workflow, an AI chat, or a manual trigger. Sometimes, the HTTP Request node might already serve as your starting point.

Webhook and Notion integration: Create a new workflow and add the first step

Step 2: Add and configure Webhook and Notion nodes

You can find Webhook and Notion in the nodes panel. Drag them onto your workflow canvas, selecting their actions. Click each node, choose a credential, and authenticate to grant n8n access. Configure Webhook and Notion nodes one by one: input data on the left, parameters in the middle, and output data on the right.

Webhook and Notion integration: Add and configure Webhook and Notion nodes

Step 3: Connect Webhook and Notion

A connection establishes a link between Webhook and Notion (or vice versa) to route data through the workflow. Data flows from the output of one node to the input of another. You can have single or multiple connections for each node.

Webhook and Notion integration: Connect Webhook and Notion

Step 4: Customize and extend your Webhook and Notion integration

Use n8n's core nodes such as If, Split Out, Merge, and others to transform and manipulate data. Write custom JavaScript or Python in the Code node and run it as a step in your workflow. Connect Webhook and Notion with any of n8n’s 1000+ integrations, and incorporate advanced AI logic into your workflows.

Webhook and Notion integration: Customize and extend your Webhook and Notion integration

Step 5: Test and activate your Webhook and Notion workflow

Save and run the workflow to see if everything works as expected. Based on your configuration, data should flow from Webhook to Notion or vice versa. Easily debug your workflow: you can check past executions to isolate and fix the mistake. Once you've tested everything, make sure to save your workflow and activate it.

Webhook and Notion integration: Test and activate your Webhook and Notion workflow

Add articles to a Notion list by accessing a Discord slash command

This workflow allows you to add articles to a Notion reading list by accessing a Discord slash command.

Prerequisites

A Notion account and credentials, and a reading list similar to this template.
A Discord account and credentials, and Discord Slash Command
connected to n8n.

Nodes

Webhook node triggers the workflow whenever the Discord Slash command is issued.
IF node checks the type returned by Discord. If the type is not equal to 1, it will return true, otherwise false.
HTTP Request node makes an HTTP call to the link and gets the HTML of the webpage.
HTML Extract node extracts the title from the HTML which we will use in the next node.
Notion node adds the link to your Notion reading list.
Set nodes set the reply values for Discord and register the Interaction Endpoint URL.

Nodes used in this workflow

Popular Webhook and Notion workflows

Time Tracking with Notion and iOS shortcut

Who might benfit from this workflow? Do you have to record your working hours yourself? Then this n8n workflow in combination with an iOS shortcut will definitely help you. Once set up, you can use a shortcut, which can be stored as an app icon on your home screen, to record the start, end and duration of your break. How it works Once setup you can tap the iOS shortcut on your iPhone. You will see a menu containing three options: "Track Start", "Track Break" and "Track End". After time is tracked iOS will display you a notification about the successful operation. How to set it up Copy the notion database to your notion workspace (Top right corner). Copy the n8n workflow to your n8n workspace In the notion nodes in the n8n workflow, add your notion credentials and select the copied notion database. Download the iOS Shortcut from our documentation page Edit the shortcut and paste the url of your n8n Webhook trigger node to the first "Text" node of the iOS shortcut flow. It is a best practice to use authentication. You can do so by adding "Header" auth to the webhook node and to the shrotcut. You need help implementing this or any other n8n workflow? Feel free to contact me via LinkedIn or my business website. You want to start using n8n? Use this link to register for n8n (This is an affiliate link)

Add product ideas to Notion via a Slack command

Use Case In most companies, employees have a lot of great ideas. That was the same for us at n8n. We wanted to make it as easy as possible to allow everyone to add their ideas to some formatted database - it should be somewhere where everyone is all the time and could add a new idea without much extra effort. Since we're using Slack, this seemed to be the perfect place to easily add ideas and collect them in Notion. What this workflow does This workflow waits for a webhook call within Slack, that gets fired when users use the /idea command on a bot that you will create as part of this template. It then checks the command, adds the idea to Notion, and notifies the user about the newly added idea as you can see below: Creating your Slack bot Visit https://api.slack.com/apps, click on New App and choose a name and workspace. Click on OAuth & Permissions and scroll down to Scopes -> Bot token Scopes Add the chat:write scope Head over to Slash Commands and click on Create New Command Use /idea as the command Copy the test URL from the Webhook node into Request URL Add whatever feels best to the description and usage hint Go to Install app and click install Setup Add a Database in Notion with the columns Name and Creator Add your Notion credentials and add the integration to your Notion page. Fill the setup node below Create your Slack app (see other sticky) Click Test workflow and use the /idea comment in Slack Activate the workflow and exchange the Request URL with the production URL from the webhook How to adjust it to your needs You can adjust the table in Notion and for example, add different types of ideas or areas that they impact You might wanna add different templates in Notion to make it easier for users to fill their ideas with details Rename the Slack command as it works best for you How to enhance this workflow At n8n we use this workflow in combination with some others. E.g. we have the following things on top: We additionally have a /bug Slack command that adds a new bug to Linear. Here we're using AI to classify the bugs and move it to the right team. (see this template and this template) We also added other types, like /pain to be less solution-driven To make it easier for everyone to give input, we added a Votes column that allows everyone to vote on ideas/pain points in the list We're also running a workflow once a week that highlights the most popular new ideas and the most active voters (see here)

Bookmarking urls in your browser and save them to Notion

Remember when you were doing some large research and wanted to quickly bookmark a page and save it, only to find premium options? Worry not; n8n got you covered. You can now create a simple bookmarking app straight to your browser using simple scrips on your browser called bookmarklets. A bookmarklet is a bookmark stored in a web browser that contains JavaScript commands that add new features to the browser. To create one, we need to add a short script to the bookmark tab of our browser like below A simple hack is to open a new tab and click on the star that appears on the right side Now that we have our bookmark, it's time for the fun part. Right-click on the bookmark we just created and select the edit option. This will allow you to set the name you want for your bookmark and the destination URL. The URL used here will be the script that shall "capture" the page we want to bookmark. The code below has been used and tested to work for this example javascript:(() => { var currentUrl = window.location.href; var webhookUrl = 'https://$yourN8nInstanceUrl/webhook/1rxsxc04b027-39d2-491a-a9c6-194289fe400c'; var xhr = new XMLHttpRequest(); xhr.open('POST', webhookUrl, true); xhr.setRequestHeader('Content-Type', 'application/json'); var data = JSON.stringify({ url: currentUrl }); xhr.send(data); })(); Your Bookmark should look like something like this Now that we have this setup, we are now going to n8n to receive the data sent by this script. Create a new webhook node that receives the POST request as in the workflow and replace $yourN8nInstanceUrl with your actual n8n instance. This workflow can then be configured to send this data to a notion database. Make sure the notion database has all the required permissions before executing the workflow. Otherwise the URLs will not be saved

Send new Clockify invoice to Notion database

This workflow sends a new Clockify invoice to a Notion database of your choosing when a new invoice is created in Clockify. Prerequisites Notion account and Notion credentials. Clockify account. How it works On new invoice in Clockify webhook node will trigger when a new invoice is created in Clockify. Setup is involved. Create database page Notion node will create a database page with the information specified from the Clockify trigger. You can add additional fields if required by following the setup. Setup This workflow requires that you set up a webhook in Clockify. Follow the steps below to set up the webhook: Create a Clockify webhook by going to the webhooks section in Clockify. Create the webhook specifying the "Invoice created" event and paste in the URL provided from On new invoice in Clockify webhook step. You will also have to set up a Notion database: In Notion, create a new database. Add the following columns to the database: Invoice number (renamed from "Name") Issue date (with type "Date") Due date (with type "Date") Amount (with type "Number") Add any other fields you require to the database. Share the database to n8n. By default, the workflow will fill all the fields provided above, except for any other additional fields you add.

Create a new team for a project in Notion

Creates a new team for a project from webhook form data. When the project is created the current semester is added to it's relation attribute. More info can be found on using this workflow as part of a larger system here.

Create a new user in Notion based on the signup form submission

This workflow recieves webhook data from a form submission and creates a new user (with name and email) if necessary. It also add the current semester of the program to the relation for the user.

Build your own Webhook and Notion integration

Create custom Webhook and Notion workflows by choosing triggers and actions. Nodes come with global operations and settings, as well as app-specific parameters that can be configured. You can also use the HTTP Request node to query data from any app or service with a REST API.

Notion supported actions

Append After
Append a block
Get Child Blocks
Get many child blocks
Get
Get a database
Get Many
Get many databases
Search
Search databases using text search
Get
Get a database
Get Many
Get many databases
Create
Create a pages in a database
Get
Get a page in a database
Get Many
Get many pages in a database
Update
Update pages in a database
Create
Create a pages in a database
Get Many
Get many pages in a database
Update
Update pages in a database
Create
Create a page
Get
Get a page
Search
Text search of pages
Archive
Archive a page
Create
Create a page
Search
Text search of pages
Get
Get a user
Get Many
Get many users

Webhook and Notion integration details

integrationWebhook node
Webhook

Webhooks are automatic notifications that apps send when something occurs. They are sent to a certain URL, which is effectively the app's phone number or address, and contain a message or payload. Polling is nearly never quicker than webhooks, and it takes less effort from you.

Use case

Save engineering resources

Reduce time spent on customer integrations, engineer faster POCs, keep your customer-specific functionality separate from product all without having to code.

Learn more

FAQs

  • Can Webhook connect with Notion?

  • Can I use Webhook’s API with n8n?

  • Can I use Notion’s API with n8n?

  • Is n8n secure for integrating Webhook and Notion?

  • How to get started with Webhook and Notion integration in n8n.io?

Need help setting up your Webhook and Notion integration?

Discover our latest community's recommendations and join the discussions about Webhook and Notion integration.
Justin Cheu
Benjamin Hatton
Cris A. Works
Albert Ashkhatoyan
Víctor González

Looking to integrate Webhook and Notion in your company?

Over 3000 companies switch to n8n every single week

Why use n8n to integrate Webhook with Notion

Build complex workflows, really fast
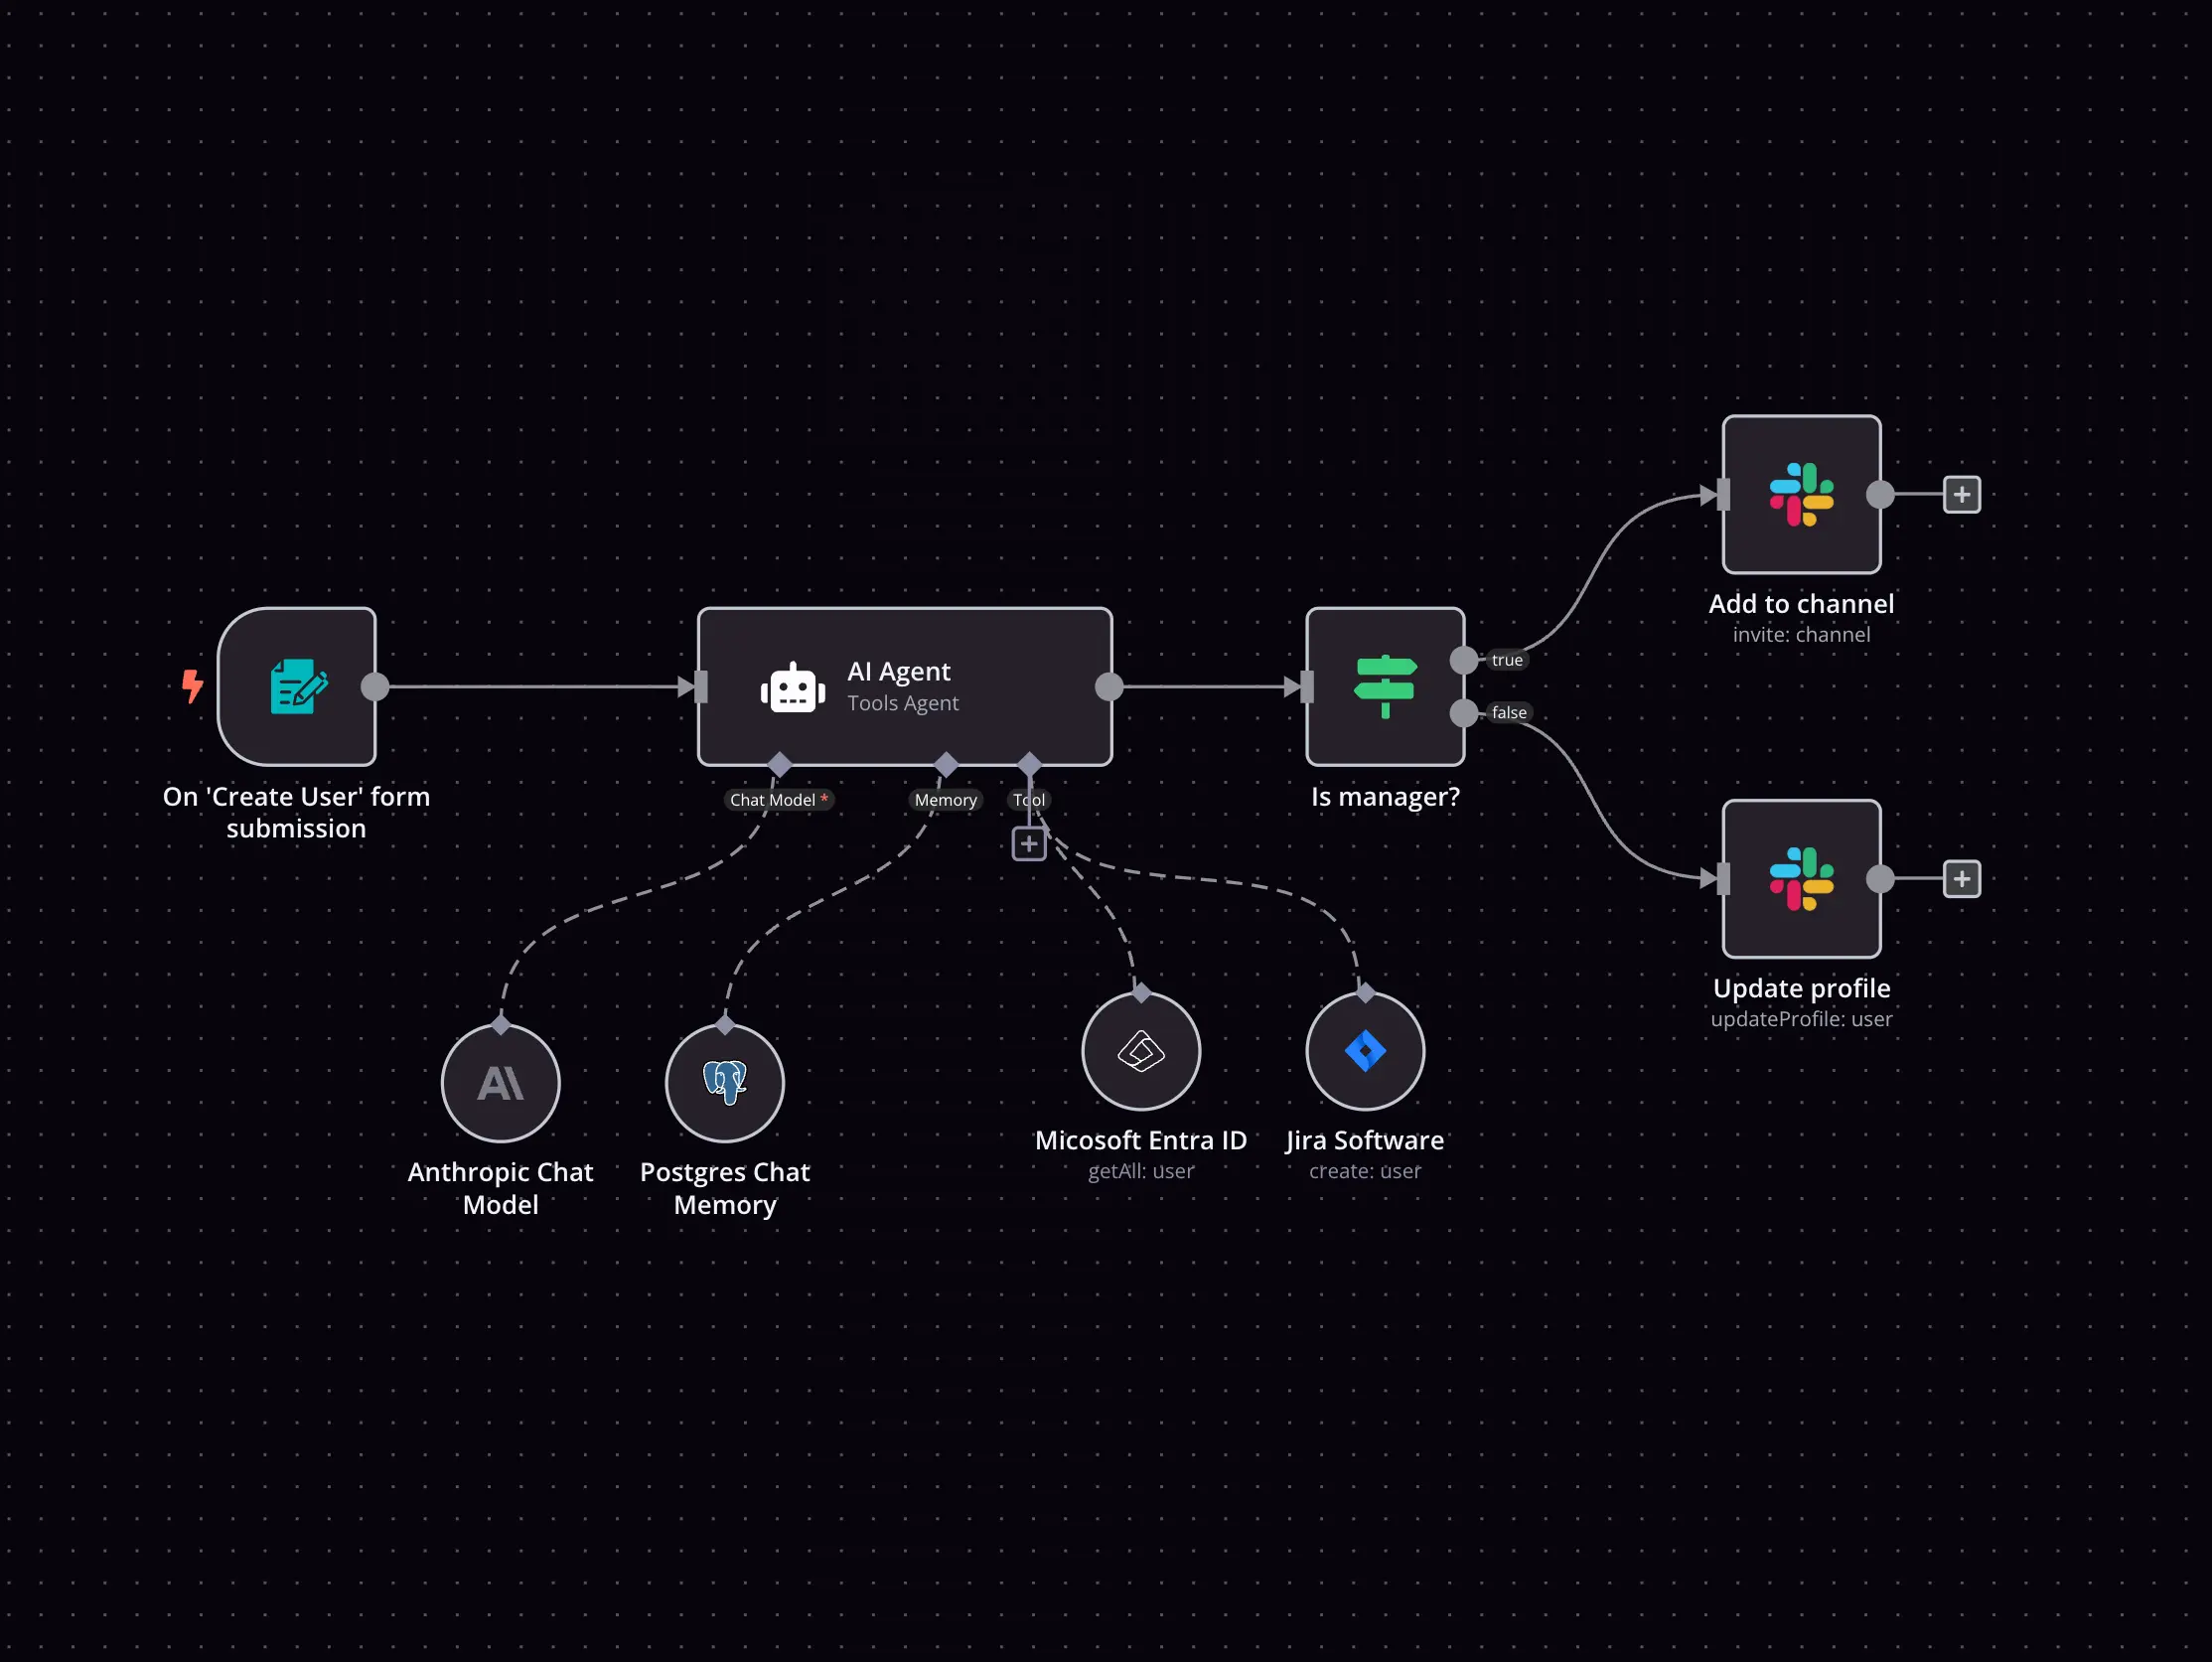
Build complex workflows, really fast

Handle branching, merging and iteration easily.
Pause your workflow to wait for external events.

Code when you need it, UI when you don't

Simple debugging

Your data is displayed alongside your settings, making edge cases easy to track down.

Use templates to get started fast

Use 1000+ workflow templates available from our core team and our community.

Reuse your work

Copy and paste, easily import and export workflows.

Implement complex processes faster with n8n

red iconyellow iconred iconyellow icon