Back to Integrations
integrationWebhook node
integrationWhatsApp Business Cloud node

Webhook and WhatsApp Business Cloud integration

Save yourself the work of writing custom integrations for Webhook and WhatsApp Business Cloud and use n8n instead. Build adaptable and scalable Development, Core Nodes, and Communication workflows that work with your technology stack. All within a building experience you will love.

How to connect Webhook and WhatsApp Business Cloud

  • Step 1: Create a new workflow
  • Step 2: Add and configure nodes
  • Step 3: Connect
  • Step 4: Customize and extend your integration
  • Step 5: Test and activate your workflow

Step 1: Create a new workflow and add the first step

In n8n, click the "Add workflow" button in the Workflows tab to create a new workflow. Add the starting point – a trigger on when your workflow should run: an app event, a schedule, a webhook call, another workflow, an AI chat, or a manual trigger. Sometimes, the HTTP Request node might already serve as your starting point.

Webhook and WhatsApp Business Cloud integration: Create a new workflow and add the first step

Step 2: Add and configure Webhook and WhatsApp Business Cloud nodes

You can find Webhook and WhatsApp Business Cloud in the nodes panel. Drag them onto your workflow canvas, selecting their actions. Click each node, choose a credential, and authenticate to grant n8n access. Configure Webhook and WhatsApp Business Cloud nodes one by one: input data on the left, parameters in the middle, and output data on the right.

Webhook and WhatsApp Business Cloud integration: Add and configure Webhook and WhatsApp Business Cloud nodes

Step 3: Connect Webhook and WhatsApp Business Cloud

A connection establishes a link between Webhook and WhatsApp Business Cloud (or vice versa) to route data through the workflow. Data flows from the output of one node to the input of another. You can have single or multiple connections for each node.

Webhook and WhatsApp Business Cloud integration: Connect Webhook and WhatsApp Business Cloud

Step 4: Customize and extend your Webhook and WhatsApp Business Cloud integration

Use n8n's core nodes such as If, Split Out, Merge, and others to transform and manipulate data. Write custom JavaScript or Python in the Code node and run it as a step in your workflow. Connect Webhook and WhatsApp Business Cloud with any of n8n’s 1000+ integrations, and incorporate advanced AI logic into your workflows.

Webhook and WhatsApp Business Cloud integration: Customize and extend your Webhook and WhatsApp Business Cloud integration

Step 5: Test and activate your Webhook and WhatsApp Business Cloud workflow

Save and run the workflow to see if everything works as expected. Based on your configuration, data should flow from Webhook to WhatsApp Business Cloud or vice versa. Easily debug your workflow: you can check past executions to isolate and fix the mistake. Once you've tested everything, make sure to save your workflow and activate it.

Webhook and WhatsApp Business Cloud integration: Test and activate your Webhook and WhatsApp Business Cloud workflow

WhatsApp Starter Workflow

This n8n workflow is designed for working with the WhatsApp Business platform. It allows to send custom replies via WhatsApp in response to incoming user messages.

💡 Take a look at the step-by-step tutorial on how to create a WhatsApp bot.

The workflow consists of two parts:

The first Verify webhook sends back verification challenge string. You will need this part during the setup process on the Meta for Developers portal:

Select your App
Go to WhatsApp Configuration
Click on the Edit button in the Webhook session
Enter your production webhook URL, provide Verify token (can be any text string)
Remember to activate the n8n workflow!
Finally press "Verify and save"

Once the webhook is verified, the Respond webhook receives various POST requests from Meta regarding WhatsApp messages (user messages and status notifications).

The workflow checks whether the incoming JSON contains a user message. If this is the case, it sends the text message back to the user. This is a custom message, not a WhatsApp Business template.

Nodes used in this workflow

Popular Webhook and WhatsApp Business Cloud workflows

+5

Complete business WhatsApp AI-Powered RAG Chatbot using OpenAI

The provided workflow in n8n is designed to create a Business WhatsApp AI RAG (Retrieval-Augmented Generation) Chatbot. How it works: Webhook Setup: The workflow begins by setting up webhooks for verification and response. The Verify webhook receives GET requests and sends back a verification code, while the Respond webhook handles incoming POST requests from Meta regarding WhatsApp messages. Message Handling: Once a message is received, the workflow checks if the incoming JSON contains a user message. If it does, the message is processed further; otherwise, a generic response is sent. AI Agent Interaction: The user's message is passed to the AI Agent node, which uses a conversational agent with a predefined system message tailored for an electronics store. This ensures that the AI provides accurate and professional responses based on the knowledge base. Knowledge Base Utilization: The AI Agent references a knowledge base stored in Qdrant, a vector database. Documents from Google Drive are downloaded, vectorized using OpenAI embeddings, and stored in Qdrant for retrieval during conversations. Response Generation: The AI Agent generates a response using the OpenAI chat model (gpt-4o-mini) and sends it back to the user via WhatsApp. Set up steps: Create Qdrant Collection: Update the QDRANTURL and COLLECTION variables in the workflow. Use the Create collection HTTP request node to initialize the collection in Qdrant. Vectorize Documents: Configure the Get folder and Download Files nodes to fetch documents from a specified Google Drive folder. Use the Embeddings OpenAI node to generate embeddings for the downloaded files. Store the vectorized documents in Qdrant using the Qdrant Vector Store node. Configure Webhooks: Ensure both Verify and Respond webhooks have the same URL. Set the Verify webhook to use the GET HTTP method and the Respond webhook to use the POST HTTP method. Set Up AI Agent: Define the system prompt for the AI Agent, specifying guidelines for product information, technical support, customer service, and knowledge base usage. Link the AI Agent to the OpenAI chat model and configure any additional tools as needed. Test Workflow: Trigger the workflow manually using the When clicking ‘Test workflow’ node to ensure all components are functioning correctly. Monitor the flow of data through the nodes and verify that responses are being generated and sent accurately. By following these steps, the workflow will be fully operational, enabling a robust AI-powered chatbot capable of handling customer inquiries via WhatsApp.
+2

AI-Powered Candidate Shortlisting Automation for ERPNext

Template Guide for Employee Shortlisting AI Agent Automation Overview This template automates the process of shortlisting job applicants using ERPNext, n8n, and AI-powered decision-making tools like Google Gemini and OpenAI. It reduces manual effort, ensures fast evaluations, and provides justifiable decisions about applicants. This is ideal for businesses aiming to streamline their recruitment process while maintaining accuracy and professionalism. YouTube Tutorial:** For a full walkthrough of this template, visit: Integrate AI in ERPNext: Automate Recruitment Job Applicant Shortlisting in Seconds! What Does This Template Do? Webhook Integration with ERPNext: Automatically triggers the workflow when a job application is created in ERPNext. Resume Validation: Ensures resumes are attached and correctly processes various file formats like PDF and DOC. AI-Powered Evaluation: Uses AI to compare resumes against job descriptions and provides a: Fit Level (Strong, Moderate, or Weak) Score (0–100) Justification for the decision. Automated Decision Making: Based on AI-generated scores: Candidates with a score of 80 or higher are Accepted. Candidates below 80 are Rejected. Applications missing required fields or attachments are put On Hold. ERPNext Integration: Updates applicant records in ERPNext, including custom fields such as justification, fit level, and scores. Notifications: Notifies candidates via email, WhatsApp, or SMS about their application status. Step-by-Step Guide Step 1: Set Up ERPNext Webhook Go to Webhooks in ERPNext. Create a webhook for the Job Applicant DocType. Set the trigger to Insert. Pin and test the webhook to ensure proper data flow. Step 2: Import the Template into n8n Open your n8n instance. Import the provided workflow template. Check all nodes for proper configuration. Step 3: Configure Credentials Add your ERPNext API credentials to the ERPNext nodes. Add credentials for AI services like OpenAI or Google Gemini. Configure additional services like WhatsApp or email if you plan to use them for notifications. Step 4: Test Resume Validation Test how the workflow handles different file types (e.g., PDF, DOC, JPG). Ensure resumes without the proper format or attachment are flagged and rejected. Step 5: AI Evaluation The AI model (Google Gemini or OpenAI) will evaluate resumes against job descriptions. Customize the AI prompt to suit your job evaluation needs. The output will include a Fit Level, Score, Rating, and Justification. Step 6: Decision Automation The workflow automatically categorizes applicants: Accepted for scores ≥ 80. Rejected for scores < 80. On Hold if essential fields or attachments are missing. Step 7: Update ERPNext Records The workflow updates the Job Applicant record in ERPNext with: Status (Accepted, Rejected, On Hold) AI-generated Fit Level, Score, Rating, and Justification. Step 8: Notify Candidates Configure notification nodes (email, WhatsApp, or SMS). Inform candidates about their application status and include feedback if required. How It Works Trigger: The workflow starts when a job application is submitted in ERPNext. Validation: Checks if the resume is attached and in the correct format. AI Evaluation: Compares the resume with the job description and generates a decision. ERPNext Update: Updates the applicant's record with the decision and justification. Notification: Sends a personalized notification to the candidate. Dos and Don’ts Dos: Customize Prompts:** Tailor the AI prompt to match your specific job evaluation requirements. Test the Workflow:** Run sample data to ensure the process works as intended. Secure Your Credentials:** Keep your API credentials safe and do not share them publicly. Optimize for Different Formats:** Ensure the workflow can handle all types of resumes you expect. Don’ts: Avoid Manual Intervention:** Let the workflow handle most of the tasks to ensure efficiency. Do Not Skip Testing:** Always test the workflow with various scenarios to avoid errors. Do Not Overlook Notifications:** Ensure candidates are notified promptly to maintain professionalism. Customization Options Add logic for more file types (e.g., scanned images using OCR). Enhance the AI prompts to analyze more complex resume data. Integrate additional tools like Slack or Trello for recruitment tracking. Resources YouTube Tutorial:** For a full walkthrough of this template, visit: SyncBricks YouTube Channel Detailed Guides and Courses:** Learn more about ERPNext and AI-driven automation at: SyncBricks LMS Support If you encounter issues or want to explore more possibilities with AI-driven automation, feel free to reach out: Email:** [email protected] Website:** ERPNext and Other Courses LinkedIn:** Amjid Ali Let me know if you'd like further details or modifications to the guide!

WhatsApp Starter Workflow

This n8n workflow is designed for working with the WhatsApp Business platform. It allows to send custom replies via WhatsApp in response to incoming user messages. 💡 Take a look at the step-by-step tutorial on how to create a WhatsApp bot. The workflow consists of two parts: The first Verify webhook sends back verification challenge string. You will need this part during the setup process on the Meta for Developers portal: Select your App Go to WhatsApp Configuration Click on the Edit button in the Webhook session Enter your production webhook URL, provide Verify token (can be any text string) Remember to activate the n8n workflow! Finally press "Verify and save" Once the webhook is verified, the Respond webhook receives various POST requests from Meta regarding WhatsApp messages (user messages and status notifications). The workflow checks whether the incoming JSON contains a user message. If this is the case, it sends the text message back to the user. This is a custom message, not a WhatsApp Business template.

Build your own Webhook and WhatsApp Business Cloud integration

Create custom Webhook and WhatsApp Business Cloud workflows by choosing triggers and actions. Nodes come with global operations and settings, as well as app-specific parameters that can be configured. You can also use the HTTP Request node to query data from any app or service with a REST API.

WhatsApp Business Cloud supported actions

Send
Send Template
Upload
Download
Delete

Webhook and WhatsApp Business Cloud integration details

integrationWebhook node
Webhook

Webhooks are automatic notifications that apps send when something occurs. They are sent to a certain URL, which is effectively the app's phone number or address, and contain a message or payload. Polling is nearly never quicker than webhooks, and it takes less effort from you.

Use case

Save engineering resources

Reduce time spent on customer integrations, engineer faster POCs, keep your customer-specific functionality separate from product all without having to code.

Learn more

FAQs

  • Can Webhook connect with WhatsApp Business Cloud?

  • Can I use Webhook’s API with n8n?

  • Can I use WhatsApp Business Cloud’s API with n8n?

  • Is n8n secure for integrating Webhook and WhatsApp Business Cloud?

  • How to get started with Webhook and WhatsApp Business Cloud integration in n8n.io?

Need help setting up your Webhook and WhatsApp Business Cloud integration?

Discover our latest community's recommendations and join the discussions about Webhook and WhatsApp Business Cloud integration.
Benjamin Hatton
Albert Ashkhatoyan
Víctor González
Salomão
sg tech

Looking to integrate Webhook and WhatsApp Business Cloud in your company?

Over 3000 companies switch to n8n every single week

Why use n8n to integrate Webhook with WhatsApp Business Cloud

Build complex workflows, really fast
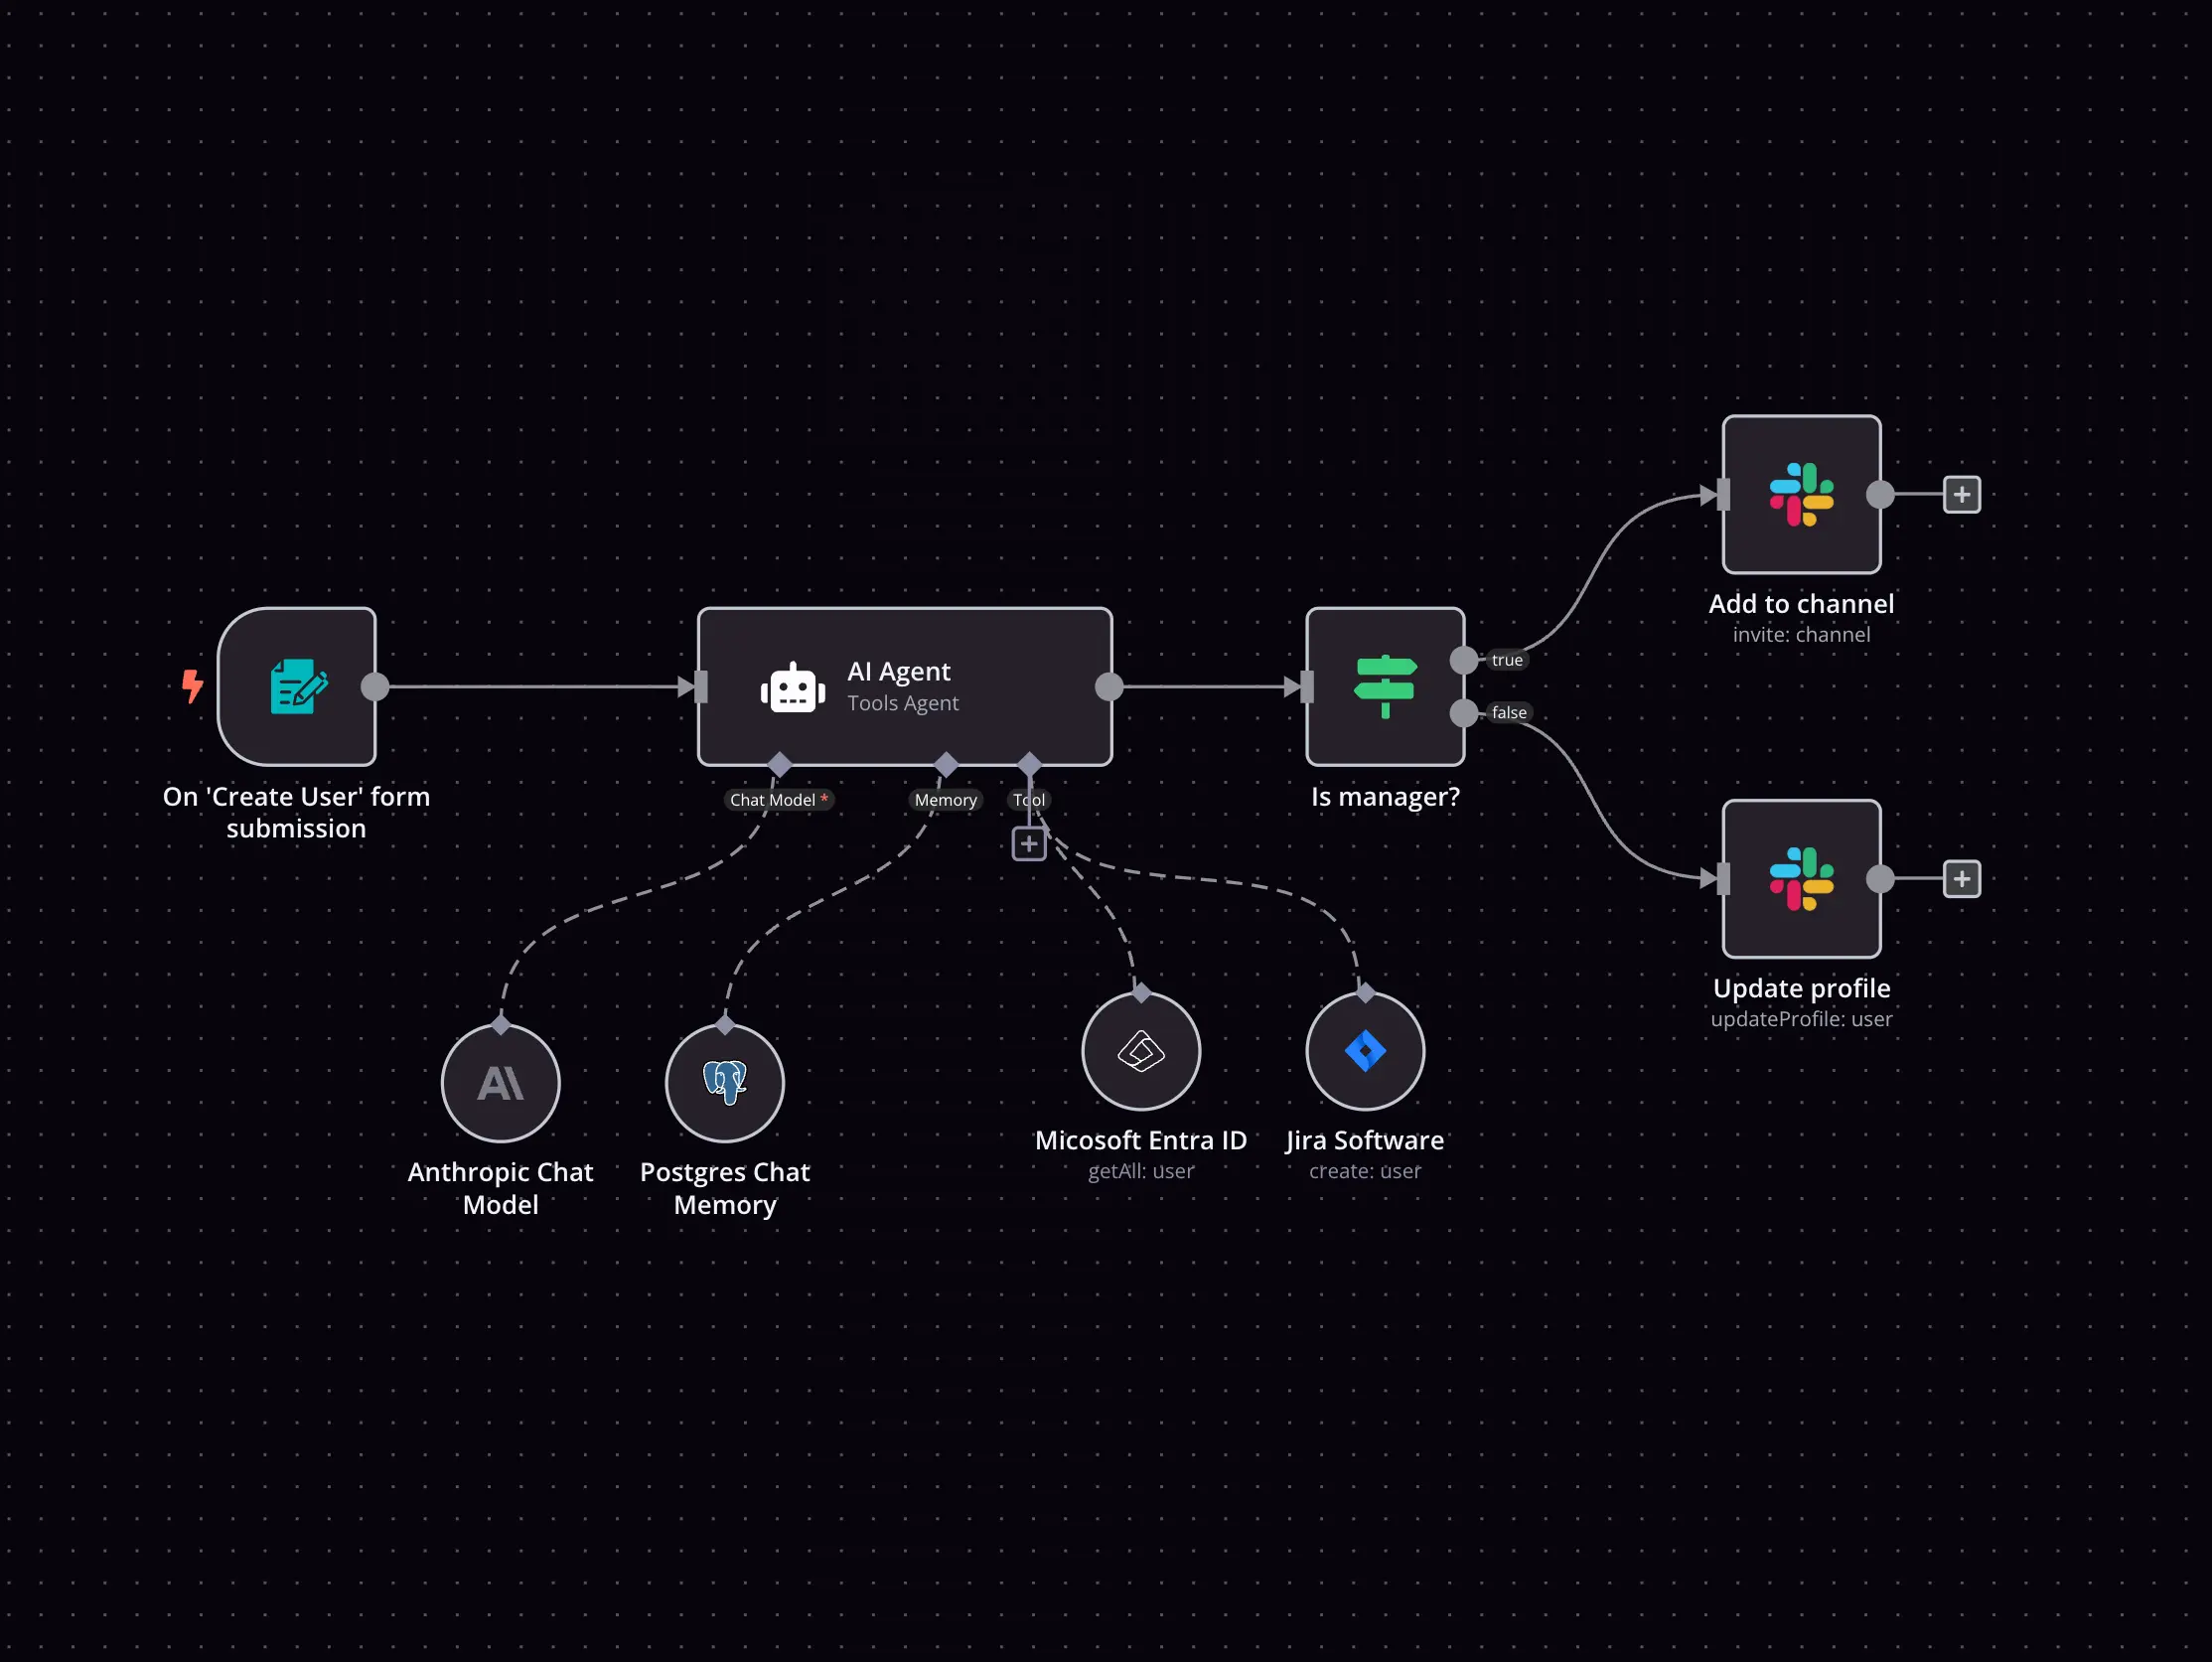
Build complex workflows, really fast

Handle branching, merging and iteration easily.
Pause your workflow to wait for external events.

Code when you need it, UI when you don't

Simple debugging

Your data is displayed alongside your settings, making edge cases easy to track down.

Use templates to get started fast

Use 1000+ workflow templates available from our core team and our community.

Reuse your work

Copy and paste, easily import and export workflows.

Implement complex processes faster with n8n

red iconyellow iconred iconyellow icon